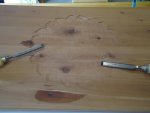
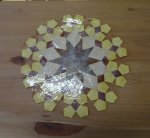
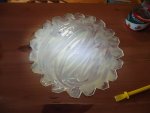
Build thread : Cedar Blanket Chest for a Client an its got a couple Nice twists to it

Now for the next part

Important Note (GET A PERMENT MARKER AN MARK THE GRAIN DIRECTION AN PIECE NUMBER ON THE BACK)

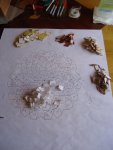
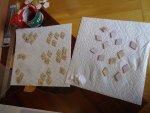
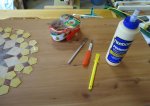
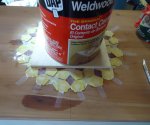
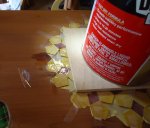
Now all the pieces are cut an you put the number an grain direction on back its time to remove the paper from each piece, in the picture below is what I am using to do all this


Inlay 33.jpg

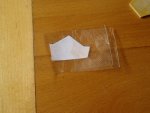
First remove the tape an the paper if you can , at least get the tape off now from each piece

Inlay 34.jpg

Now as you had seen in the last picture I removed as much of the paper as possible but do it in sections an take your time

Inlay 35.jpg

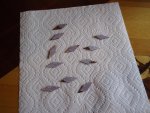
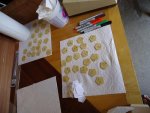
Once you have done all the pieces use Mineral Sprits an poor some on a paper towel an damp down the paper that is stuck to the wood, this will help release the spray glue

Inlay 36.jpg

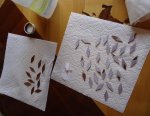
As you can see I am starting with the pieces from the center , this make it easier to assemble the inlay an do any adjustments as needed . Do not be surprised if you have a few pieces that need to be replaced

Inlay 37.jpg

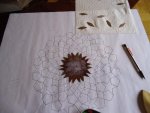
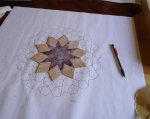
Once the paper is off an you clean the piece let it dry, now start put the pieces as you go on the pattern, do any adjustments as you go like an sanding to fit. Next using small clear tape start taping the pieces as you go , just be careful not to come off alignment

Inlay 39.jpg

Once you have one level completed move on to the next

Inlay 40.jpg

Now this does take some time to do, just don't rush it take your time

Back tomorrow
 
Now time to move to the Maple but start in the valley of the star first or it will not work so go ahead a prep the pieces

Inlay 41.jpg

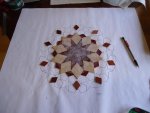
Once there ready go ahead an set them in place one at a time an tape it as you go until all of them are in place

Inlay 42.jpg

Next is the paduck ones, go ahead a prep them all an place them an adjust as needed , Next is the yellow heart an it becomes a PIDA

Inlay 43.jpg

Prep all the yellow heart

Inlay 44.jpg


Take your time an I will be back at it tomorrow
 
Roy perhaps i should have caught it earlier but i have a question relating to grain direction. Originally I was under the impression the grain was all to face outward. Now i notice on the latest pentagonal pieces your have the direction facing towards the star center. I take the grain is being used to form movement in the resulting image?
 
Roy perhaps i should have caught it earlier but i have a question relating to grain direction. Originally I was under the impression the grain was all to face outward. Now i notice on the latest pentagonal pieces your have the direction facing towards the star center. I take the grain is being used to form movement in the resulting image?

Yap an to help compress the star, I will be showing more of the reason later in the thread
 
Well the Yellow heart took some time, but its all set

Inlay 45.jpg

As you can see in the picture I taped it all together so when I get ready to do the outline on the chest

Next is to mark out the area on the chest
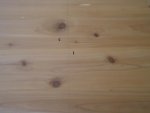
Prep 01.jpg

Next set your inlay as it is going to be marked out, about 1 1/2 -2" so you can see what needs to be done with the knots
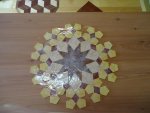
Prep 02.jpg

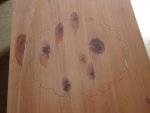
Next Draw a circle around your Inlay area
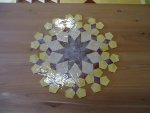
Prep 03.jpg

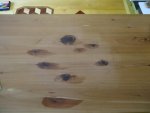
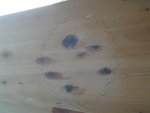
In the next Picture you can see I have 7 knots to stabilize before I do my mark out for the inlay, if you do not do this now it will give you problems in the long run
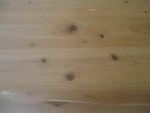
Prep 04.jpg

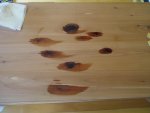
Well as anyone that has worked with Cedar knows that the knots can be a PITA so take care of them now I am using Thin CA an Medium CA to stabilize them
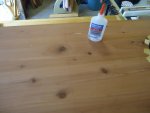
Prep 05.jpg

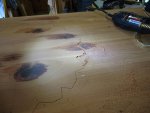
Keep filling in the areas with the thin first so it can soak in, then the knots that have little splits use the Medium CA to fill the voids
Prep 06.jpg

Prep 07.jpg

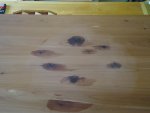
Once its all filled let it set until dry I do not use any Accerator I just let dry on its own , once its dry sand off any high spots in the CA areas
Prep 08.jpg

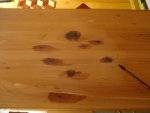
Next set your inlay where its going an trace around it , I use a .5 mm pencil to do this
Prep 09.jpg

I be posting again tomorrow, when I'm back at it
 
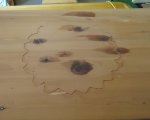
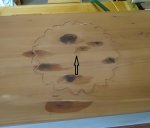
Well as you can see I started marking out the Inlay in the last thread after I stabilized the knots, but I had to go back to the pattern an cut out a small section for the star

Prep 10.jpg

With this pattern I finished off the rest of the mark out

Prep 11.jpg

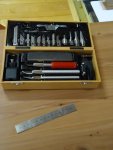
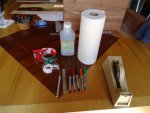
Now to get ready for the cutout of the Inlay this is how I do it . Here is the tools I use at first

Cutting in Inlay 01.jpg

Before cutting out the recess it helps to cut out the outline so you don't have chip out , but first you need to be comfortable so I need to move the chest to the deck I use cushions so the chest doesn't get damage by the concrete

Cutting in Inlay 02.JPG

Cutting in Inlay 03.jpg

Next when you are comfortable go ahead an score out the outline using a excto knife I amusing the outline of the pencil marks an this helps also when you start the routering

Cutting in Inlay 04.jpg

Cutting in Inlay 05.jpg

Continued in next thread
 
Now the fun part an you need to keep your area clean as you are routering , here is what I am using to route out the outline

Cutting in Inlay 06.jpg

Cutting in Inlay 07.jpg

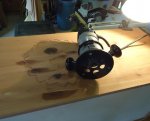
I'm using a dermal with air pump an a special route jig I use on guitars an fiddles, I'm also using a 1/32 down spiral bit just a quick outline then over to 1/8 bit down spiral bit .

Now find the thinness stock on your inlay so you can set the depth, I am setting mine so the Inlay will be just a hair higher than the chest. The Walnut is the thinness I used.

Cutting in Inlay 08.jpg

Next by taking your time , there is no hurry when doing this do your outline giving plenty of space to use a bigger router for the middle, this is the easyies setup for me an the most comfortable

Cutting in Inlay 09.jpg

Start the outline also make sure you have good light to

Cutting in Inlay 10.jpg

Be back this weekend got appointments with Doctor's
 
Wood in Wood inlays are the harder than using shell due to grain direction an in this Inlay its everywhere, been working on a few other inlays for clients with there fiddles an guitars so its been a little busy trying to play catch-up with all the projects spcially baby sitting the wife since she had her emergence surgery so bear with me, I got a few appointments tomorrow an wife on Friday
 
This has been a great "Follow along." I went back through the entire thing again this evening.

I assume that there are some tense moments when you are working with that many small pieces---Or are you "Mr. Cool" himself? I see a bazillion places where it would be so easy to mess up---you have my admiration. I am eager to see the finished product!

Thanks for showing and explaining.

Enjoy,
JimB
 
If anyone thinks that this one is easy are in for a hair pulling problem, yes I even pulled my hair some what I have left, just making sure I don't lose a piece of the Inlay but that's why I use the tape.
 
Well I'm back as you route out the outline keep some of the shaving just in case there's an OH CRAP moment :(

Cutting in Inlay 11.JPG

Keep at it an make sure you stop an clean up every couple minutes

Cutting in Inlay 12.jpg

Well got the outline done

Cutting in Inlay 13.jpg

Before you change over to the big router make a good size circle in the middle, also keep your small bit as it is , just in case you need to do a few touch ups

Cutting in Inlay 14.jpg

Putting that small area in the middle it helps to set your depth for the bigger router

Cutting in Inlay 15.jpg

Ok now get rest of the waste routed out, an clean out the recess of any high spots

DCutting in Inlay 16.jpg

Now you are ready to DRY fit the Inlay

Setting Inlay 01.jpg

Be back in the following thread
 
If your Inlay is not sitting flat check an see where you need to remove more material , mine fit great so Now get the materials to set the Inlay, here is what I'm using this time due to it been really big

I'm using Titebond 2 With my excto knife, glue spreader, Clear tape

IMPORANT NOTE make some dash marks so you can still line up your Inlay to the Chest

Setting Inlay 02.jpg

Spread the glue out through out the whole Inlay,

Setting Inlay 03.jpg

Now is the time to set the Inlay an take your time an make sure it stays flat

Setting Inlay 04.jpg

As you can see in the picture I used tape to hold down the pedals
As you can see put some weight on the center an do not try an remove to much of the glue that came up by the pedals

Setting Inlay 05.jpg
Setting Inlay 06.jpg

Once the Inlay is set DO NOT MOVE THE INLAY AROUND IF YOU SEE ANY THING WRONG UNLESS YOU CAN DO IT QUICK AN YOU MIGHT NEED TO ADD MORE GLUE once you cleaned the area up

Ok I see everyone once its dry
 
Top