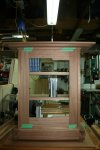
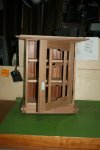
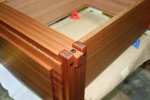
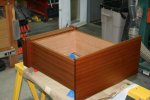
G&G Inspired Wall Cabinet

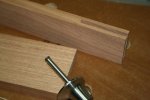
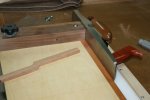
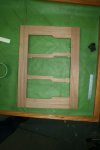
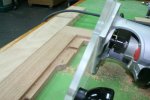
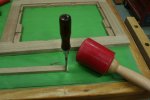
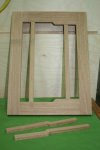
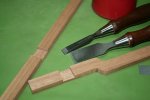
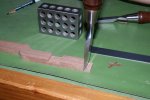
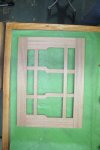
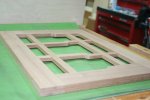
I figured I better post something to show that I have made any progress on this at all. I botched a couple of parts and with my schedule that meant I didn't get caught up till just now. I am using bridle joints at the corners of the door frame. I use a wheel gauge to mark the depth and use the tenon jig to cut the slots and cheeks. The door is over-size and will be trimmed down once I have the dividers mortised in.

GnG Wall Cab (92).jpg . GnG Wall Cab (93).jpg . GnG Wall Cab (94).jpg

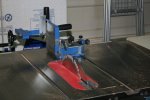
The miter bar on my tenonning jig has never been the greatest. After fouling a couple parts and losing so much time, I took a bit of time to make a new bar out of some straight grained hickory. Works much better ;-)
 
Last edited:
glenn that offset mortise gauge is interesting concept to keep it in place! also on your ship lap bak, you running those in a grove at the top and bottom plus sides to hold in position?
 
glenn that offset mortise gauge is interesting concept to keep it in place! also on your ship lap bak, you running those in a grove at the top and bottom plus sides to hold in position?

The gauge is a Lee Valley Anniversary version that they offered at a very reasonable price once upon a time. I find I go to this one more than my graduated one for the reason you state as well as the grip being a bit more controllable for me. The back panels will be captured in a groove at the top and sides. they will terminate and be tacked at the bottom "shelf" and at the top with a single pin in each slat to allow movement. Similar to how a sliding-from-the-back drawer bottom goes in.
 
The gauge is a Lee Valley Anniversary version that they offered at a very reasonable price once upon a time. I find I go to this one more than my graduated one for the reason you state as well as the grip being a bit more controllable for me. The back panels will be captured in a groove at the top and sides. they will terminate and be tacked at the bottom "shelf" and at the top with a single pin in each slat to allow movement. Similar to how a sliding-from-the-back drawer bottom goes in.

so no capture at the bottom then just pinned in place?
 
so no capture at the bottom then just pinned in place?
Correct, although on larger backs I capture all around. Usually by having a deeper groove on the top so that the slats slide up into this groove far enough to swing in and drop into a shallower groove at the bottom.

Work has been IN--SANE!!! My day job is really cutting into my shop time :rolleyes:.

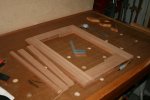
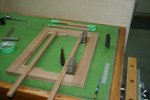
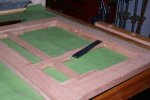
I finally got the window 'dividers' shaped and formed to near finished. I cannot fit them until the door frame is glued up so its time for that. I learned a long time ago from Gary Rogowski to avoid the sweaty palms and heart palpitations that can come from an ill planned glue up. Do a couple of dry runs. Lay out your clamps and anything else you will need so that they are right where you expect them to be.

GnG Wall Cab (95).jpg

Apply glue and just re-do what you have already done a couple of times without glue.

GnG Wall Cab (96).jpg

Everybody happy-happy.
 
Last edited:
I'm probably putting you people to sleep with all these little bitty steps of progress. I am definitely just getting an hour here or there lately; quite frustrating. Tomorrow should be a good catch-up day .:clap:

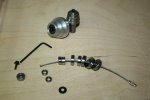
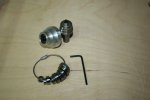
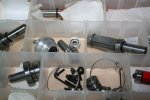
I route out the rabbet for the glass on the router table. Speaking of rabbets and bearings and all that (were we really?). I don't know how you all keep your bearings under control but the inexpensive cable key rings from Lee Valley do a great job on ones that overflow the 'keeper shafts'.

router bit bearings (1).jpg . router bit bearings (2).jpg . router bit bearings (3).jpg

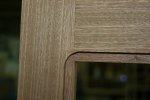
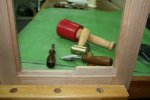
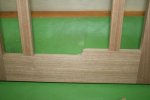
The cloud-lift detail leaves me some material to remove afterward. I free hand route the bulk of this waste out with a 1/4" spiral bit and then chisel the last of it.

GnG Wall Cab (97).jpg . GnG Wall Cab (98).jpg
 
Catch-up Day

Having the day off work for the holiday let me catch up a bit. I tape the door in place and rough in the shelves to get a look at some proportions. This is a modified build of some pieces that I have made before. Those pieces had the shelves split the center of the cloud-lift trim detail. This one has shelves scaled to hold CD’s so I will have to deal with this somehow (possibly by ignoring it).

GnG Wall Cab (99).jpg

I cut the trim to over-long and then shoot to fit.

GnG Wall Cab (100).jpg

This shows the horizontal trim locations. I use setup blocks to position the vertical trim positions. I use a striking knife to mark the positions as well as provide me a reference groove to register the chisel in.

GnG Wall Cab (101).jpg . GnG Wall Cab (102).jpg

I free hand the bulk of the spoil out of the mortise and chisel it to fit the trim. I hog out the waste for the rabbets and dados that will allow the trim to interlock via a FTG blade on the tablesaw and again, trim to fit with chisels.

GnG Wall Cab (103).jpg . GnG Wall Cab (104).jpg

cont'd
 
Here's the vertical trim fitted in showing the slight step-back from the front plane of the door. I'm addicted to fooling around with elevation as a visual element :crazy:.

GnG Wall Cab (105).jpg . GnG Wall Cab (106).jpg

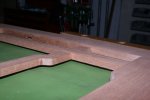
I use (nearly) half laps at the trim intersections and half laps to set the trim to the same plane and the recess for the glass.

GnG Wall Cab (107).jpg . GnG Wall Cab (108).jpg

This gives me an even plane in the glass receiving area and the quirky stepped elevations I like on the front of the door.

GnG Wall Cab (109).jpg . GnG Wall Cab (110).jpg

And here's everybody tucked in for bed ;-)

GnG Wall Cab (111).jpg . GnG Wall Cab (112).jpg

Now I just take it all apart and ease all the edges and I can move to the glue-up.
 
Last edited:
Thanks all. It is funny how we sometimes set goals for ourselves that we don't even know are there. I guess I really wanted all the trim in a glue-up before I quit tonight.

GnG Wall Cab (113).jpg

Because now I feel ready for bed ;)
 
I have been percolating on the pull for this piece since about a week into the project. The blue post-it is me fooling with positions for it. I can almost see it in my head but, I'm still not there. I may have to make a few versions and then choose but, sometimes that is also a challenge ;-) The glass and ebony plugs are also missing along with the finish but, you get the idea.

GnG Wall Cab (114).jpg . GnG Wall Cab (115).jpg . GnG Wall Cab (116).jpg

I'll post some more once I get settled on the pulls.
 
Last edited:
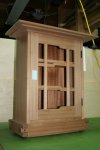
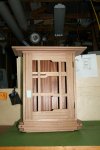
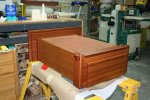
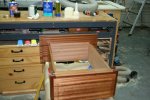
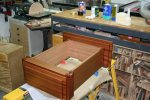
I got a surprise dose of good weather today so I put the first coat of finish on the carcass. Internal areas and shelves will get shellac to avoid the long term odors associated with the oil based wiping varnish mix I whip up. This finish does not play well with enclosed environments like a cabinet with a door :D. Here's some shots from different angles to try to show the chatoyancy.

GnG Wall Cab (122).jpg . GnG Wall Cab (123).jpg . GnG Wall Cab (124).jpg

I am just a sucker for those big soft finger joints.

GnG Wall Cab (121).jpg

Oh, and a shot from the top. You'll only see it from this angle if you play professional basketball :).

GnG Wall Cab (126).jpg

I will need to keep wiping it off for the rest of the evening. I'll hit the door tomorrow after work and lay the second coat on this guy.
 
Last edited:
Really nice. Ya know, you might consider entering one of your pieces in the Design in Wood Show at the San Diego County Fair next June. Entries welcome from the entire Pacific Rim and you well give those folks a new look to recon with.
 
Top