glenn bradley
Member
- Messages
- 11,548
- Location
- SoCal
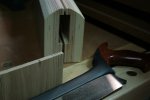
My previous vise gave me ideas for how to simplify this one. I glued up some scrap 3/4" BB ply to make a pair of blanks about 4-1/2" by 12".
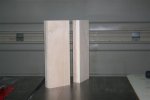
Then I used the router table to cut a clearance groove in each. To make it even simpler you could build this up gluing different thicknesses of ply instead. I knew the clearance I wanted and standard thicknesses were not going to get me there..

I used the tablesaw to put some bevels to allow clearance for the file handle (and my hands).
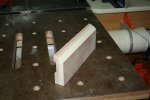
I cut some mortises and pulled a couple of floating tenons from my stock. I waxed the tenons to keep them from sticking.
 .
. 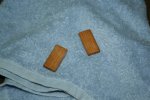
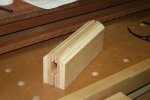
The tenons just make the pair handle more like a single object when slipping the saw in and setting the rig in the bench vise. You could use a spline as well.
I set on a stool, use the magnifier/lamp and go to it.
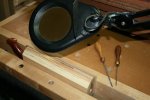
I failed to show the saw set pliers and my mill file that is wedged into a block of hardwood for jointing but, I do use them use them .
.

Then I used the router table to cut a clearance groove in each. To make it even simpler you could build this up gluing different thicknesses of ply instead. I knew the clearance I wanted and standard thicknesses were not going to get me there..

I used the tablesaw to put some bevels to allow clearance for the file handle (and my hands).

I cut some mortises and pulled a couple of floating tenons from my stock. I waxed the tenons to keep them from sticking.
 .
. 
The tenons just make the pair handle more like a single object when slipping the saw in and setting the rig in the bench vise. You could use a spline as well.

I set on a stool, use the magnifier/lamp and go to it.

I failed to show the saw set pliers and my mill file that is wedged into a block of hardwood for jointing but, I do use them use them
Last edited:

