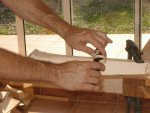
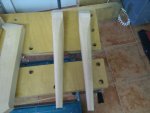
Backless chair/stool with sculpted seat

Hi Toni, I think the leg modification looks good, but I think I liked the back rest better before the modification. To me, the new curve into basically a 90* angle doesn't "Flow" with the other curves very well. Maybe an angle somewhere in between the original and the one now would look better IMHO, I don't know.
 
From the info in the picture, I prefer the original. The word that is running in my head is generous. The original looks like you want me to be comfortable, the new version looks like you want me to be stylish but don't care if I'm comfortable.

I am sure that your choice is right, but for me the original looked better.
 
Norman, Ian,
Thanks for your comments, yes I agree, if I had to judge from the pictures I'd prefer the original as well. Looking at the last picture, the chair looks crippled and as if it was sloping towards the back, isn't it?

When I took the pictures I was concerned about refining the length of the chair, that made it look somewhat more ¿flat?.
As I had clear that the back curve was right ( the original one), I didn't bother to fix it, as I mentioned.

Now I realise that I may be misleading the viewers of the pics.

As I'm on the process of preparing the stock, I'll re-check that last change as well as the curve because if it has to look as on the second picture I will agree completely with both of you.

Ian, I like very much the way you describe it, it is very graphical and understandable, I wouldn't have described it better, thanks again for it:thumb:

Constructive criticism is always welcome because it helps me to improve:)
 
The making of... First pics on show part I

Hi guys.

I'm half way through my chair and I thought that I could start posting some pics, I hope not to be tiresome with so many details, if at any time you thing that I should summarize more just let me know and I'll do it.
After all you know better than I do how to do this things:)

Well you've asked for them... so here they are.

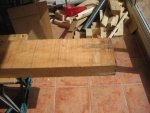
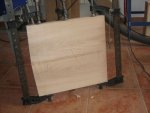
All started here, a piece of hard maple, I've skipped the drawing and cutting of the templates.
chair001.jpg
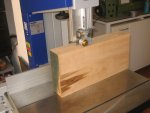
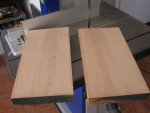
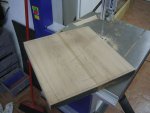
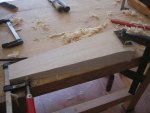
After planning and leaving it to the right thickness, I ripped it in two to make the seat part.
chair002.jpgchair003.jpg
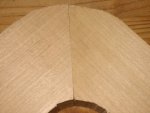
Inserted a couple of dowels, glued,and there you go ready to be cut to final size/shape.
chair004.jpgchair005.jpgchair006.jpg
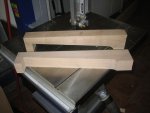
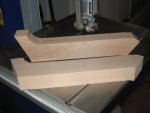
Cutting the front legs, I left the end parts to be able to saw the other side profile having a proper support on the table.
chair007.jpg
The sides, (are they called rails??) already cut. I made a mistake here, I souldn't have cut the back wawy shape that is going to be attached with a miter joint to the back, you'll see later on.
chair008.jpg
Shaping to size and simetry the front legs, and the miter joint ( dry fit test here) with the sides.
chair009.jpgchair010.jpg

I can't get this joint much tighter, "C'mon baby light my fire":D
 
The making of... Pics on show Part II

Well, here is the second set,:) am I boring anyone??

Here I'm shaping to size and simmetry the back legs on both side profiles
chair011.jpgchair012.jpg
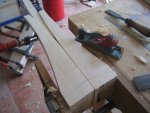
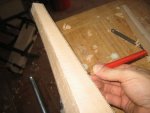
Marked the edges that shouldn't go away and rounded the inner part of the leg almost to size with a spokeshave.
I left the top end that is going to be attached to the seat almost untouched because I will shape it once glued.
It is going to be difficult but I can't see any other way of doing it.
chair013.jpgchair014.jpg

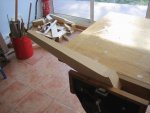
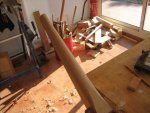
Same process with the front legs, before rounding, and after.
chair016.jpgchair017.jpgchair018.jpgchair019.jpg

Epilogue:
Will all the parts match? :(What was that mistake that was mentioned before?:huh: Is it going to look as expected??
Do not miss the next episode coming soon on your favourite family woodworking forum thread:rofl:

I'm sorry I think I've got carried away;) Thanks for looking and look forward for your comments
 
Great pics, Toni. And no, you're not getting carried away with too many details (in my opinion). :thumb: It's all great information that others can learn from.
 
Toni, it's looking great, and I haven't got "Bored" Yet.:D You're not only doing excellent woodworking, but you've done an outstanding job of documentation both with the explanations and PICTURES.:thumb: Just keep on doing it like you have been.:thumb:
 
Hey Toni, looking GOOD!!! :thumb:

Seems like the bandsaw is speeding up your work too, how are you liking the bandsaw?

Keep the pics and the details coming, I'm loving it! :clap:
 
Hey Toni, looking GOOD!!! :thumb:

Seems like the bandsaw is speeding up your work too, how are you liking the bandsaw?

Yes Stu, the bandsaw is a real help in speeding up the process, maybe too much because with the eagerness of wanting to see things taking shape, I've cut parts that shoudn't be cut at this stage, a careful cutting-gluing-shaping planning is needed, I've learnt it the hard way ( as always:()

Thanks for taking the time to post the pictures.

I love what you do and simple methods you use. It shows that you think through every step.
Hi Bartee, Simple methods you say?? well...:huh: thanks! if you think they are I'm not going to contradict you but I'm not so sure about that. Most problably some of the "pro" woodworker friends around here would have done it faster and differently.

BTW. Can someone tell me if the sides of the chair are called rails? I need to improve my woodworking vocabulary if I have to exchange ideas with any of you, I hate having to say " that round cilindrical piece that you insert into a hole" :eek: or something similar to refer to a dowel

Thanks everybody for your comments, more pics tomorrow if I can.
 
The making of... pics Part III

Well, here I am again…

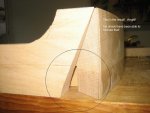
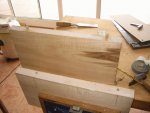
Once the seat and back rest cut I realised that the recess I made to get more gluing surface and to be able to carve a gentle curve so that the upper edge of the back rest wouldn’t hurt your hip I found out that there was a chunk missing, in this case it wasn’t a measure twice cut once error but a think twice and analize three one.
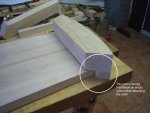
III-01.jpg
This triangular space had to be filled, and as didn’t want to spend much time adjusting the joints I decided to strip off the piece off wood that made the recess and cut a new one. :bang::bang:

Now I realise I could have got away by just putting this triangular piece because the joint will remain in the interior of the miter joint. :bang:So nobody would have noticed and it wouldn’t even show. Well… only on the bottom of the chair seen from below.
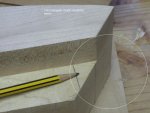
III-02.jpg
This is the triangular void that had to be filled with. Here you can see why I shoudn’t have cut the slanted profile of the end of the side. I should have left it straight, adjust the miter joint with the back and shape oblique once glued. Three mistakes on the same corner multiplied by two. That makes a total of 6. Curiously enough I was more dissappointed than frustrated or mad at myself. Hey Stu. Are there any books there to instruct oneself to make the Hara-Kiri or Sepukku?;)

III-04.jpg
The piece once remade. I decided not to remake the sides, I hate wasting wood so, I’ll disguise it somehow and as I been ordered by my SWMBO to make another one (one for each of us) I hope not make the same mistakes again and that second one should come out better
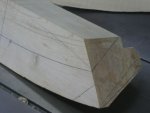
III-07.jpg
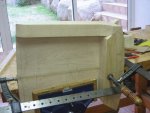
Dry fitting and adjusting the miter joints and the sides match with the seat
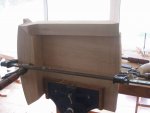
III-11.jpgIII-12.jpgIII-13.jpg
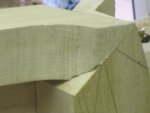
The back, with the shaping cuts done prior to gluing to the seat.
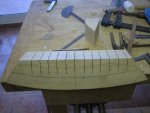
III-08.jpg
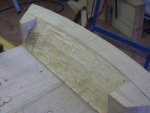
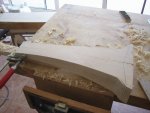
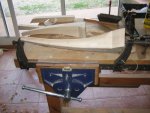
The back once glued, roughing it off, and almost there. Notice the parts left on the ends, they will be used to clamp the sides when gluing them and get a good contact on the miter joint
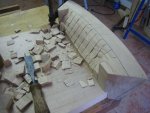
III-09.jpgIII-10.jpg

to be continued… or so I hope

Thanks for looking
 
Looking good Toni, don't worry about that little mistake, you caught it and fixed it, besides, this is the prototype, right :D

I'm sure you will be getting a lot of requests from family and friends for one of their own :thumb:

Great pics, great documentation! :clap:

Keep it coming!
 
Great work Tony, you are truly an artist!
Jesse, thanks for the compliments but artists do not have the luck of having so many fellow friends wanting to help and encourage as I have here:thumb:

BTW I have a question, out of curiosity, what is it what you are planning on your avatar??

looking great toni, you have tons of patience.

please keep posting pics, i doubt anyone is getting bored :thumb:

chris

Thanks Chris, tons of patience you say...:huh: well I have to admit that when I start woodworking time seems to warp, maybe my workshop is somesort of "worm hole";)
 
Last edited:
Top