- Messages
- 8,633
- Location
- Thomasville, GA
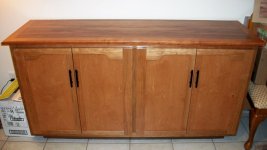
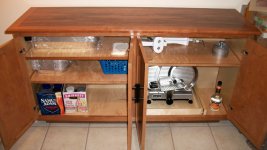
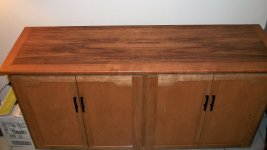
In other posts, I've made mention of an office cabinet with display that I've been working on for a while now. The base storage unit is complete, except for loading more items into it, but this is where we are as of today.
Basic construction is solid cherry with maple plywood door and end panel inserts. I used a stain on the panels to make them resemble cherry. The top is 3/4" plywood with rotary cut bubinga veneer. The finish process was a coat of EM1000 sealer, two coats of EM6000 gloss, and one coat of EM6000 semigloss. Actually, I put three coats of EM6000 gloss on the top panel.
Here's the overall plan from SketchUp:
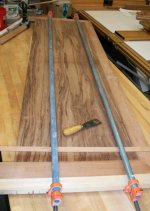
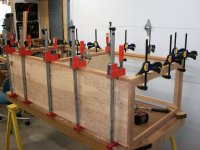
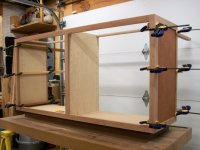
And a couple of interim photos:
You can never have too many clamps!
Thanks for viewing!

Basic construction is solid cherry with maple plywood door and end panel inserts. I used a stain on the panels to make them resemble cherry. The top is 3/4" plywood with rotary cut bubinga veneer. The finish process was a coat of EM1000 sealer, two coats of EM6000 gloss, and one coat of EM6000 semigloss. Actually, I put three coats of EM6000 gloss on the top panel.


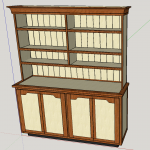
Here's the overall plan from SketchUp:

And a couple of interim photos:
You can never have too many clamps!


Thanks for viewing!


