Glenn's Shop

glenn bradley

Member
Messages
11,558
Location
SoCal
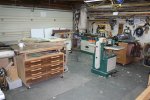
I don't usually do shop tours because it will destroy the illusion that I am neat and organized. No clean up here, just the slow degradation that comes from being on light duty orders from the doc for a little longer. I'll call the tablesaw's operator position the front of the shop. That being said this is the view toward the back right corner from the back left.
ST-2018 (1).jpg

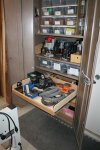
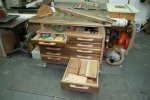
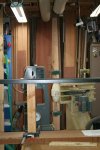
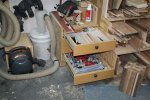
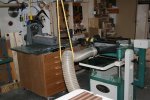
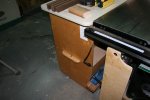
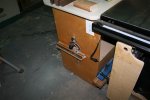
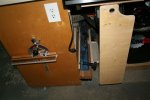
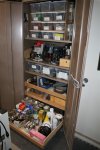
Along the left is some vertical lumber storage which we'll come back to and a commercial cabinet that I re-did the interior on. It has shelves and pullouts that fit my plastic storage products of choice and various other items. the pullouts keep things from getting lost in the back.
ST-2018 (2).jpg . ST-2018 (3).jpg

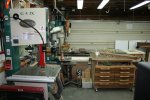
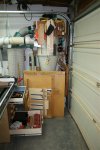
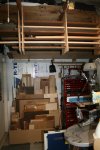
Continuing to the back right corner there is the panel shorts bin although it holds things other than panel pieces . . . sigh . . the best laid plans. The small bandsaw is waiting to go on a base. That and other flotsom makles this look more cluttered and space restricted than it usually is.
ST-2018 (4).jpg

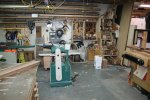
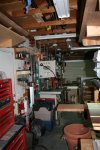
If you walk up to the shorts bin and turn left you are looking toward the front right corner of the shop. The fan moves around to where I need it. The plant pots are just visiting.
ST-2018 (5).jpg

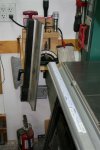
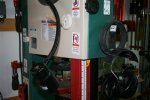
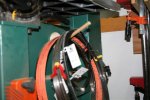
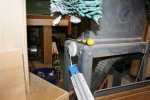
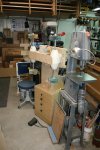
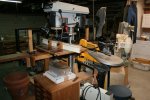
To the right is my drill press which we'll revisit later. Stepping forward there is the large bandsaw. On the cleat wall to the left of the bandsaw is the bandsaw "stuff" organizer. Everything you need to change blades, fence and miter gauge storage and so forth. The bandsaw is on a mobile base and can roll forward for long resaw work.
ST-2018 (6).jpg . ST-2018 (7).jpg . ST-2018 (8).jpg

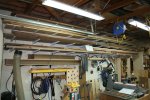
If you step away from the large bandsaw area here is a sort of overall view of the cleat wall.
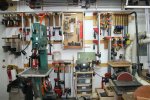
ST-2018 (9).jpg

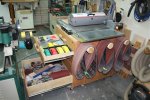
I build bases with drawers or build drawers into almost everything. The spindle/disk base holds all that sander's paraphernalia. A built in mobile base moves this guy out for any larger work.
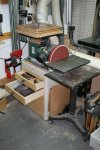
ST-2018 (10).jpg

cont'd . . .
 
Last edited:
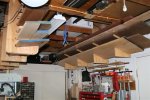
From spindle/disc sander area looking toward the left front corner. The tablesaw outfeed table, of course, has drawers built in.

ST-2018 (11).jpg . ST-2018 (12).jpg

Continuing down to the router table and turning back toward the left front corner. The router table also has drawers for router table stuff. The frame and panel door uses 1/4" pegboard for the panel. I drilled many of the holes out to a larger diameter to reach my return-air goal for the router compartment.

ST-2018 (13).jpg , ST-2018 (14).jpg

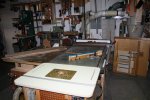
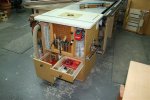
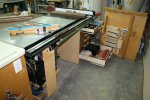
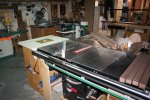
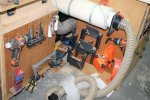
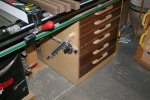
Looking past the router table along the operator area of the tablesaw. There is a drawer unit for all the tablesaw stuff, sleds and the DC. There is pegboard on the DC to hang stop blocks, push blocks and all that from. I put the ingress and egress of the DC on the same side to conserve space. I jam my blade rack, hand screws, and other odds and ends between the DC cone and the wall. The Saw Stop was shorter than my previous saws. I have too many fixtures built to that height so I built a little booster platform for the Saw Stop.

ST-2018 (15).jpg . ST-2018 (16).jpg

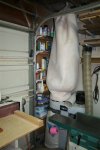
Looking back from the area where the sleds live. Also the front left corner. This AFF bagged DC serves the jointer and the edge sander. The little shelves hold gloves, glue, glue accessories, Rust Free, Paste wax, Teflon and other lubricating sprays.

ST-2018 (17).jpg . ST-2018 (18).jpg

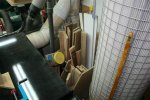
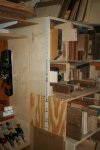
The left wall has my horizontal lumber. The piece of paper is a big note reminding me that I have a hella-heavy piece of bubinga up there and I better not push it. If you turn and look at the back left corner where we started you can see the vertical lumber storage in quite a state of disarray (boards are normally filed like books for easy picking) since almost any board in there is heavier than I am currently allowed to lift. :eek:

You can see the torsion beams I use for my knock down assembly platform for large or tall pieces. the cardboard tube hanging there has my straight edges in ti and makes a handy place to hang a random vacuum hose . . . it has hung there for many years of use.

ST-2018 (19).jpg . ST-2018 (20).jpg

cont'd . . .
 
Last edited:
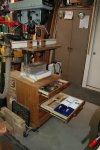
Turning to the right you can see my "temporary" lumber racks. These are made from scrap garbage plywood scrounged from here and there . . . yes, I have no pride when it comes to free material :thumb:

The original design for these was to hold lumber that had been selected for a project but, not yet broken down. It has morphed into an area for figured woods primarily.

ST-2018 (21).jpg

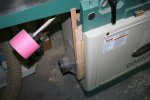
Below the "temporary" racks is the DP I said we would get back to. It too, of course, has a drawer unit under it with all things 'drill press'.

ST-2018 (22).jpg

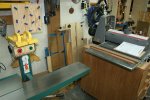
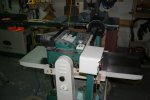
Now we get a little random . . . Many machines are on wheels so the planer and sanders are not always where you \see them now. These machines move into play and then clear out when assembly and finishing stages are reached.

ST-2018 (23).jpg

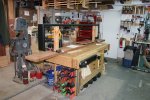
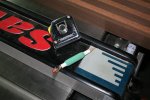
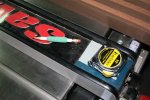
Here's the bench with a piece of sapele on it that I cannot lift yet, so there it sets. The weird black thing is a piece of trim for a man cave bar for a relative. Not my usual cup of tea. There are drawer units under the bench which are short enough to allow easy access to the underside of the top.

ST-2018 (24).jpg . ST-2018 (25).jpg

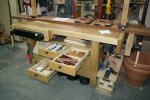
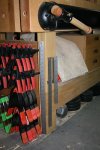
A drawer unit under the plane till corralled by one of the shop vacs and a shorts "tower". This unit holds small diamond paddles, scraper sharpening stuff, punches and cold chisels along with corner clamps and face-frame type oddball clamps. The drum sander base hold all manner of abrasives, for the drum sander and for other sanding tasks.

ST-2018 (26).jpg . ST-2018 (27).jpg

Oops, forgot to show the sacrificial fence and sled ZCI replacement storage fixture between the right end of the tablesaw and the right wall. The plastic bottle with the yellow lid holds ZCI replacements for the sled fences. Also a stash of various jigs stand on a riser and lean against the wall behind the drum sander 'not in use' location.

ST-2018 (28).jpg . ST-2018 (29).jpg

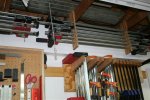
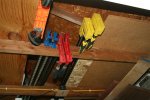
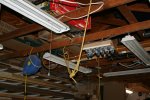
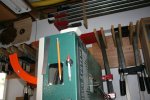
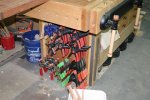
And a random shot of overhead storage for longer clamps.

ST-2018 (30).jpg

Seriously!?! Not done yet ???
 
Last edited:
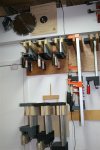
Even longer clamps get stored over the rafters. Clamps that get used frequently at the bench are stored immediately to the left of the bench.

ST-2018 (31).jpg . ST-2018 (32).jpg

I put pegboard on the ends of fixtures to hold more stuff. Here's one end of the tablesaw outfeed/assembly table and the left side of the router table in one pic and the end of the workbench in the other.

ST-2018 (33).jpg . ST-2018 (34).jpg

This is the are behind the bench where I am supposed to be able to walk. I still sometimes squeeze back there but, the whole rougue's gallary on the left of the picture is about to be re-worked to restore my walking space.

ST-2018 (35).jpg

This last shot is one of the four roller stand storage areas that consists simply of three big hooks screwed into rafters. Easy to get to but, well out of the way most of the time.

ST-2018 (36).jpg

If you made it this far, kudos to you. I hope maybe something or other that you saw will solve a problem in your own shop :D.
 
Last edited:
Thank you. Thank you. Than you! I have had the pleasure of viewing this first hand, but as I make the move out of state and will have a shop half the size of yours, I will treasure your space saving tips and tricks.

Not to mention, your insurance man will be very proud of you for the pictorial record!
 
Not to mention, your insurance man will be very proud of you for the pictorial record!

As to that, I think I mentioned at BW-II, take a picture of all your machines, include the S/N plate and a pic or scan of the receipt. All of this will fit onto a (or a couple) cheap memory sticks and can be stored at a relatives house (in case of fire) as well as at your own place. You can inventory everything on one Saturday and will reap untold benefits should the worst happen.
 
The first few photos I got claustrophobic. But second set really opens up the space. You have realllly used imagination to use every ounce of space. Very good. I will try to emulate space saving tips.
Very good on you.
David
 
Shop Tour Fallout - Bonus Random Tips

As if this thread wasn't pic heavy enough. As I was culling the shop tour pics I noticed some random things that I do that a lot of other people probably do too. I thought I would share them here for others.

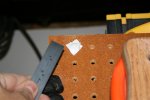
You can pick up magnetic wreath holders for a song at the BORG's inevitable After Christmas Clearance. I attach a section of dowel and use them all sorts of ways.

Random Tips (2).jpg . Random Tips (1).jpg

Random Tips (3).jpg . Random Tips (4).jpg

Random Tips (5).jpg . Random Tips (6).jpg . Random Tips (7).jpg

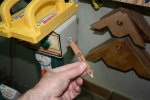
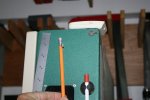
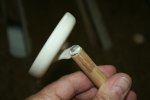
Speaking of magnets. Harbor Freight has inexpensive rare earth magnets (especially with a coupon or two). When I am epoxying something I use the leftovers to stick magnets to pencils.

Random Tips (8).jpg . Random Tips (9).jpg
 
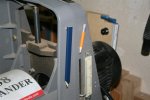
More fun with magnets; top of the jointer or side of the bandsaw.

Random Tips (10).jpg . Random Tips (11).jpg

If the magnet likes to stick to the tool more than the surface you want it to stay on, a bit of thick tape will reduce the grip on the tool side and leave the magnet behind.

Random Tips (12).jpg

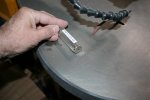
Small things like scroll saw blades can go in small bottles with a magnet glued to the bottom. Keeps them safe and handy.

Random Tips (16).jpg . Random Tips (15).jpg

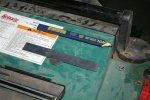
Speaking of magnets keeping you safe. How many of you leave loose items on your tablesaw fence? A magnet and cup screw on to my tape where the belt clip used to be. This and a pencil are always handy at the tablesaw and will not get knocked off. The small piece of sheet magnet keeps the fence surface from getting scratched up.

Random Tips (13).jpg . Random Tips (14).jpg

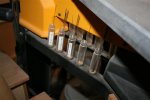
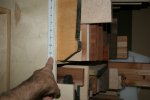
A piece of old tape measure, a yardstick, or like me, a strip of ruled adhesive tape on the side of the shorts tower saves me a trip back when I grab something too small.

Random Tips (17).jpg . Random Tips (18).jpg
 
Last edited:
A loop of rope hanging from the ceiling holds my planer hose away from the outfeed area for some operations. When not in use the business end just hangs from a hook overhead.

Random Tips (19).jpg . Random Tips (20).jpg

My miter gauge gets used a lot. that means it has to be handy and be secure when not in use.


Random Tips (22).jpg

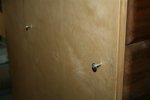
It rests on a couple of oversize washer head screws like you use to align false drawer fronts. It has been on and off of these screws thousands of times and is easy to grab and easy to put back.

Random Tips (23).jpg . Random Tips (24).jpg

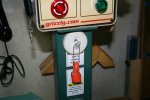
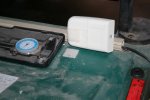
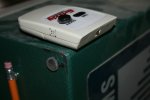
There are places where magnets may not work. My remotes live on a couple of machines that are in different areas of the shop but, I don't want them falling off. Enter Velcro. The self stick door bumpers are stuck on the "ON/OFF" button so I can hit it without looking.

Random Tips (25).jpg . Random Tips (26).jpg

Random Tips (27).jpg . Random Tips (28).jpg

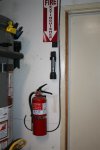
I hang a flashlight near the fire extinguisher. Not for fire safety but, it is ALWAYS where I expect it to be :)

Random Tips (21).jpg
 
Last edited:
I have a set of rules at the leg of my bench. In all fairness I have carefully matched rules all over the shop.

Random Tips (31).jpg

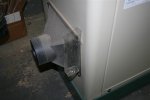
I took a long skinny plastic "box" (I think a chisel came in it) and used a screw position on my jointer's dust port to fasten it to the jointer out of the way. I fill it with random thickness scrap strips that are sacrificial shims to help with teeter-tottering boards on the jointer. I use them like crazy but, always seem to generate more than enough to replace them.

Random Tips (29).jpg . Random Tips (30).jpg

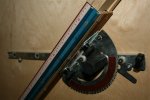
A scrap with a hole in it screwed to the side of the router table holds my miter gauge for that tool. It doesn't get used often but, needs to be safe and handy.

Random Tips (32).jpg . Random Tips (33).jpg

Lastly I have a shelf behind the router table for the fence and the big ole paddle to turn my tablesaw off.

Random Tips (34).jpg

Ooops, one more. You can buy glass beads or small river stones for a buck-a-bag at the dollar store. Sew them up in an old sock and make yourself some 'soft weights'. Here I am using on to hold a hose out of the way during machine operation. I have a couple and use them frequently as a third hand.

Random Tips (35).jpg
 
Last edited:
Thanks for taking the time to take so many pics and share Glenn. There are so many great ideas and I know I will for sure be re-visiting the pics over and over to work on storage ideas for my shop. :thumb:

Just curious, Do you tend to work with an apron on with your tools on/in it or mostly try to keep multiples of things close at hand for the area you're working in?
 
Just curious, Do you tend to work with an apron on with your tools on/in it or mostly try to keep multiples of things close at hand for the area you're working in?

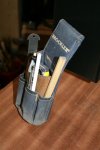
I've tried aprons and even want to wear one since having a few things always handy on your bod makes sense to me. I have never found one that doesn't get in the way, one way or the other, while I'm working. I do have a small pouch that is supposed to be for gluing.

Lumber Selection Pouch (1).jpg

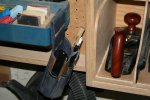
I have it loaded with all the things I need when selecting lumber for a project. I hook it on a pocket while I am selecting and roughly marking out parts. Then it goes back on the wall mounted tool fixture and that's about as close as I get to carrying things with me around the shop.

Lumber Selection Pouch (2).jpg

I can't even keep a pencil in place behind my ear so I am pretty sad in that regard. The fix for me is multiple items but, not really a lot and not expensive items. Pencils of different sorts are all over the place. The glued on magnets mentioned along with a specific place for them to stick has solved my endless searches for pencils while in the middle of doing something.

I asked several different people for the same thing one Christmas. The Lee Valley Pocket Rule. The resulting clutch-o-rules are spread around the shop. I like the satin finish and the graduations on the ends. H. J. Epstein had a batch of PEC seconds for stupid cheap (they are a bargain at the regular price) that I got tipped off to. This resulted in me having a few 4" and 6" double squares for about the price of one Starrett that I sold to pay for them ;). I have one at the router table, one on a magnet at the jointer, one at the bench, etc.

A variation on having multiples of some items is having specific items grouped where they are used. For example, despite having full sets of square and ball tipped hex wrenches in a tool box drawer for general use, I have the specific hex drives used for some machines stuck on via magnet or stationed at a fixture nearby. Same goes for wrenches for the spindle sander, hex driver for the guides on my smaller bandsaw, specific clamps that are used for specific things over and over.

All of this grew over time. If I found myself persistently walking across the shop for a 3mm hex key I would just liberate one from a cheap set and store it nearby. But, where does it stop? When I stop getting interrupted during an operation to go get an "XYZ", I'm good :thumb:
 
Last edited:
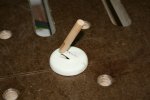
Looked pretty neat to me... I won't presume to show off my shop as it's tiny, cluttered and has a half inch layer of dust on everything in there... I also only have about 10% of the tools I saw in your shop... I have a little contractor table saw that doubles more as a catch all table than a saw, a 14" band saw, my lathe, a second lathe for a buffing station, on one work bench I have a desk top drill press, my sharpening station and a 1" belt sander... most of my work benches are so cluttered you can't see the tops. My chop saw is on a roll around cart, as is my planer and my newly acquired router and I have a bench top jointer that sits on two large blocks of wood a fellow gave me about 10 years ago.... If I change my mind about a project, I need to go outside to do so.
 
Glenn, I don't know how I missed this, will try to go through it slowly and methodically this weekend.

Ken, welcome to the family and thank you very much for bringing this thread back to the front to show me what I had missed.
 
Top