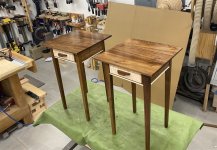
Guest Room Bedside Tables

glenn bradley

Member
Messages
11,641
Location
SoCal
After we had out-of-town guests a while back it became painfully obvious that we needed some sort of night stands in one of the guest rooms. With the holidays coming LOML moved this up on the list. She showed me a style that is not my usual thing. After some discussion we arrived at a design that she liked. I'll show that later. For now I will just go through the motions. :)

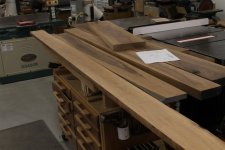
I wanted to use up some more of this sappy or odd-man-out material.
GRST (1).jpg
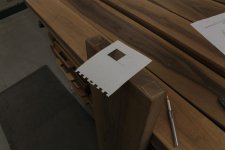
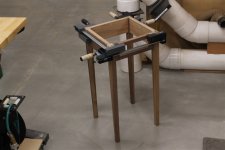
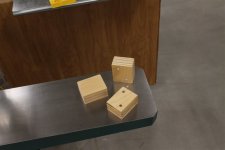
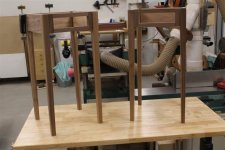
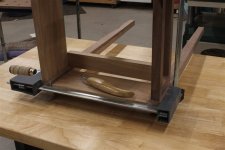
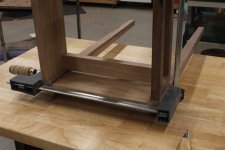
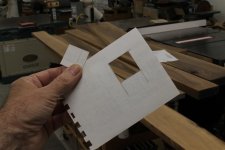
There will be square tapered legs. I'm sure many folks use this trick to select the orientation of the figure to get a good look on as many faces of the leg as possible.
GRST (2).jpg

GRST (3).jpg
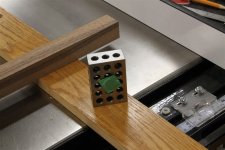
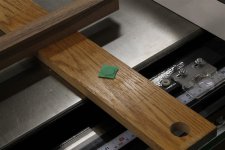
Here's a random thing I do that may help someone or give them an even better idea. This is a magnet wrapped in some tape to get the amount of pull I am happy with.
GRST (4).jpg
I stick it to a 1-2-3 block.
GRST (5).jpg
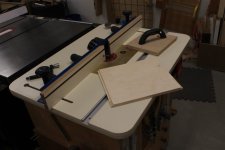
I stick the block to the table saw top. I set the fence 3" more than the measurement I am after to make a quick, safe, length-stop.
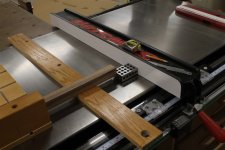
GRST (6).jpg
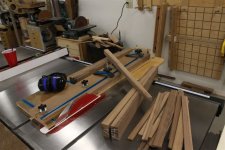
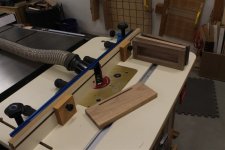
The board laying there is just a support. It is made from a finish test-board for a jewelry cabinet I made LOML 18 years ago :oops:. It happened to be the same thickness as my sled bases so way back when I recessed a couple of magnets in it.
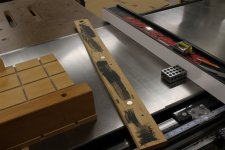
GRST (7).jpg
The magnets along with some brush-on rubber product make the board stay put. I generally only use it on longer stock but it was handy and seemed to help out. At any rate, the milled leg blanks are cut to length.
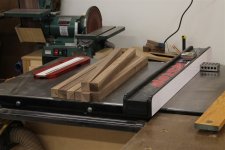
GRST (8).jpg
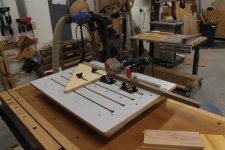
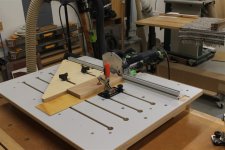
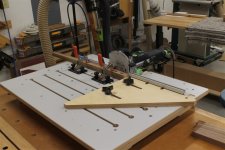
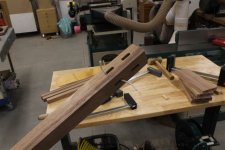
I pull the taper jig down off the wall and taper the two "inside" faces of the legs.
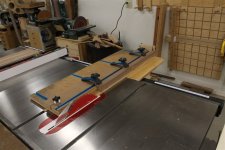
GRST (9).jpg

GRST (10).jpg
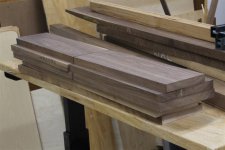
I also rough mill some blanks for the aprons and the tops.
GRST (11).jpg
I will sticker these for a couple of days while I fool around with the drawer parts.
 
Productive morning. I milled all the blanks to final size. Glued up the tops.
GRST (12).jpg
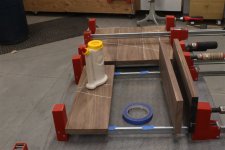
I stick a bit of tape where each glue joint will be. While doing this I ponder those posts about how to get glue off your clamps . . . ;)
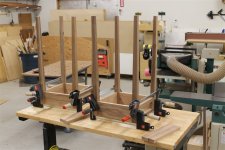
I dry clamp the parts together to mark out my Domino locations.
GRST (13).jpg
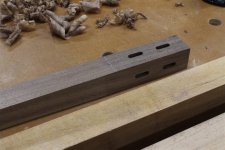
Cut 64 mortises.
GRST (14).jpg

GRST (15).jpg

GRST (16).jpg
I have a random tip thread somewhere on these. Just some magnets set into some plywood blocks.
GRST (17).jpg
They are great whenever you need to clamp to a cast iron top that has a web-style underside.
GRST (18).jpg

GRST (19).jpg
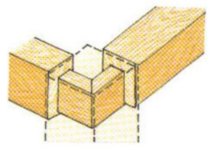
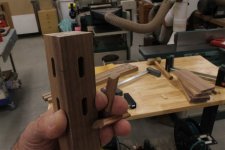
On smaller scale items we can have mortises connect.
GRST (20).jpg
My usual on this is to miter the ends of the tenons to get the maximum long grain glue surface I can.
mitered tenons.jpg
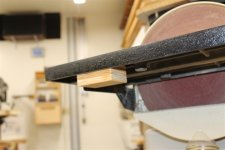
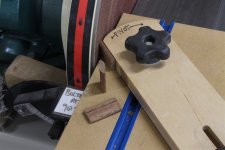
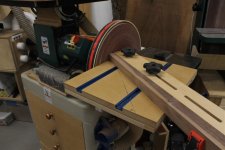
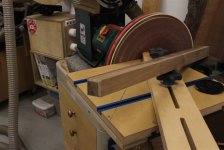
It is no different with floating tenons. It took just a few minutes at the sander to miter these Dominoes.
GRST (21).jpg

GRST (22).jpg

GRST (23).jpg
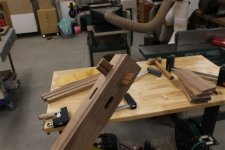
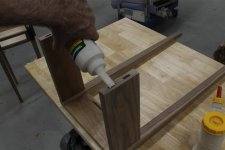
And here's the dry fit parts.
GRST (24).jpg
Now I can take them back apart, clean things up and prep the surface (of these parts at least) for finish.
 
Last edited:
I keep a few goats in the back of the property to keep the weeds down. I have to relocate their stakes every so often so that they clean the whole area. By keeping them staked at intervals they eat EVERYTHING down to the dirt. That chore along with some errands means that I don't have much to show for today. I beveled the underside of the tops.
GRST (25).jpg
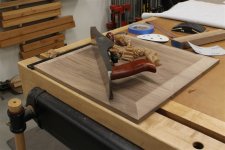
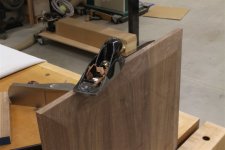
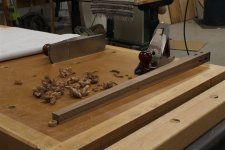
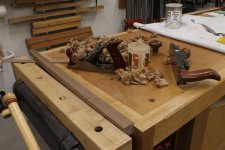
It is funny how much I use this little fixed mouth apron plane for cleaning up edges.
GRST (26).jpg
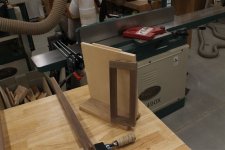
I strike a line for the beginning of the tapers on the legs. I use this as a guide when I am using the taper jig at the tablesaw. I marked one with white pencil here to make it show.
GRST (27).jpg
The theory is that as I plane off the machine marks I stop at that strike line. This gives me a definite end-of-taper visually.
GRST (28).jpg
All eight legs are all cleaned up.
GRST (29).jpg
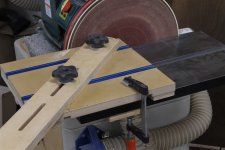
I use the same disc sander table I used on the Dominoes to bevel the bottom of the legs to create a sort of foot. Instead of 45 degrees these bevels are at 60 degrees. That just happens to be a couple of angles that I have marked out on the table and area easy to repeat.
GRST (30).jpg

GRST (31).jpg
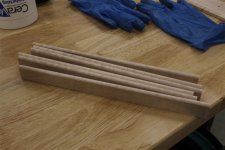
The drawers will ride on runners of a sort. I hold the stock up to the dry fit piece, strike a line and cut them to length.
GRST (32).jpg

GRST (33).jpg
This will make a bit more sense as I install them. I am being called to dinner (and I'm never late for that) so these will have to set till tomorrow.
GRST (34).jpg
 
I changed my mind about the separate runners for the drawers. These things are quite small and I am switching to a modified version of something I saw Mike Korsak do on one of his small tables. The front drawer frame and the rear apron get a stopped groove.
GRST (35).jpg
The bottom pan gets a matching tongue.
GRST (36).jpg
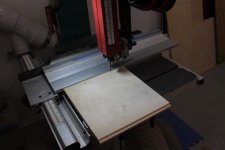
The full length tongue gets turned into a narrower tongue at the band saw.
GRST (37).jpg
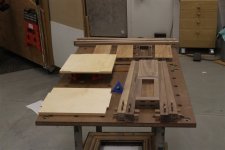
These parts assemble like so.
GRST (38).jpg
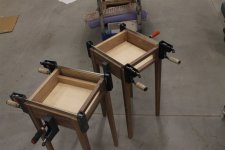
The pan is dry fit in both. The left table shows how I might place runners to control the drawer.
GRST (39).jpg
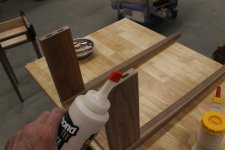
Side note: I got this glue bottle tip in a set I picked up somewhere along the way. Seeming how i got it before the Domino was in the U.S. I believe it is designed for biscuits
GRST (40).jpg
It does work great for Dominoes though.
GRST (41).jpg
All surfaces are prep'd for finish and the pre-finishing is done
GRST (42).jpg
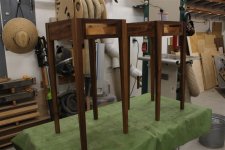
I will probably glue up the bases tomorrow and start on the drawers.
 
I had pulled some tiger maple for the drawer front and trim but hadn't really decided.
GRST (43).jpg
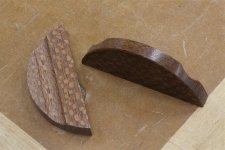
I played with a few pull shapes and materials. I like the leopard wood.
GRST (45).jpg
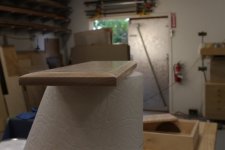
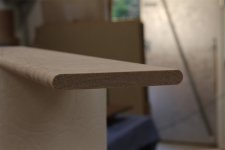
The drawer will use a false front. I often find an edge profile I want for smaller items by using part of a larger profile. Using a portion of this large roundover . . .
GRST (46).jpg
I end up here.
GRST (48).jpg
I'm happy with the result so I will knock out the other one.
 
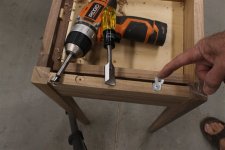
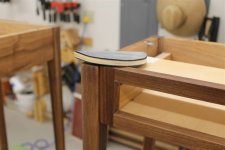
I use a Forstner to create a recess for one side of the figure 8 connectors that will hold the tops on. I chisel the points off to allow the fasteners to move with the seasons.
GRST (49).jpg

GRST (50).jpg
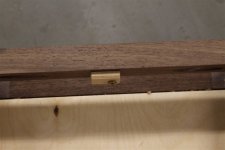
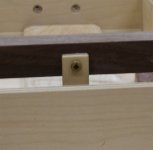
Combining small, light drawers, and grandkids can result in drawers being pulled right out of the table. I use a simple, off-center, rotating piece to act as a drawer stop.
GRST (51).jpg

GRST (52).jpg
First coats of finish . . .
GRST (53).jpg
Here's a view of the drawer front profile.
GRST (54).jpg
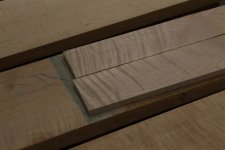
I also cut a profile on each edge of a larger-than-required tiger maple blank.
GRST (55).jpg
Then I rip a strip of trim off each side.
GRST (56).jpg
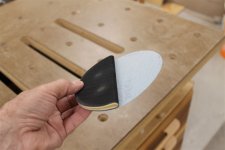
Here's an odd little helper. It is sort of like a high density foam taco with hook and loop on it. It is sized to use 5" sanding discs.
GRST (57).jpg
Here I am using 1000 grit to prep the finish for the final coat.
GRST (58).jpg
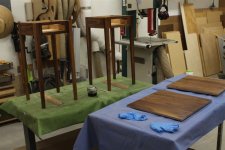
Final coat for the bases.
GRST (59).jpg
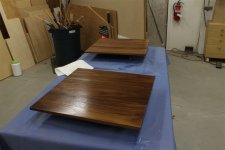
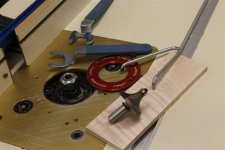
The tops will get two more coats.
GRST (60).jpg
 
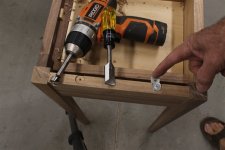
Thanks guys. Comments from the craftsmen on here are really appreciated :). I make drawer runners and stops a lot of different ways. This is generally driven by what the piece is and its scale. For these little guys I put a couple of dense felt dots on the back wall.
GRST (61).jpg
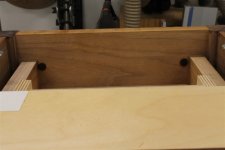
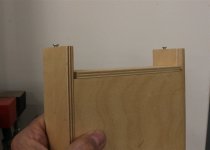
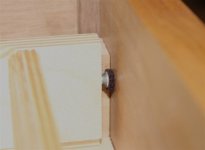
I put a couple of flat head screws in the back edges of the drawer box.
GRST (62).jpg
These are adjusted to stop the drawer about 1/16" from the face frame to avoid the smacking sound smaller drawers can make when closed.
GRST (63).jpg
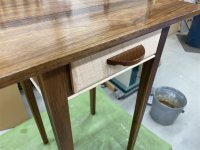
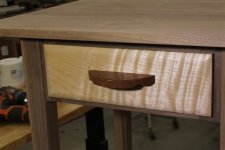
Here's a good look at one of the pulls in situ.
GRST (64).jpg
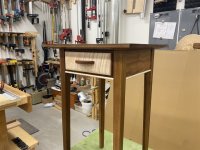
Here's an overall showing the play between the curly maple false front and the trim from the same material.
GRST (67).jpg
The flash effects the colors in this pic but it does show how the drawer fronts are book matched.
GRST (69).jpg
Now where was I when these suddenly became a priority . . . Oh yeah, installing solar fans for one of the storage sheds.
 
Top