My CNC Router Build - After some delay, great progress!

Today marks Day 25 - today was a good day. I got the Y axis lead screw mounted ... and got to play with it a little ... check out this video:


Cool huh?!

And if you're up for sufferin' through a little recap of all that was done today - i shot another vid:


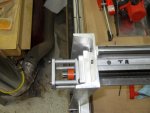
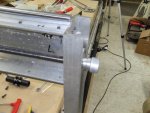
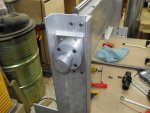
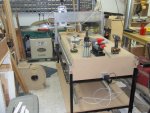
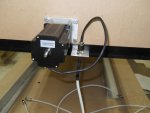
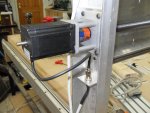
The pics were taken after this vid, of course ... with the screw cut short and the knob mounted. It turns pretty easily - i'll be able to measure the torque (somehow, not sure how yet) and choose the appropriate stepper motors for it. Hopefully tomorrow the X axis will go in. Stay tuned! :)
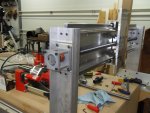
SDC11999.jpgSDC12000.jpgSDC12001.jpgSDC12002.jpg
 
Last edited:
And day 26 comes to a quick finish early - i am out of stuff to do until the Z axis screw gets here but it was shipped today so it should be here by the weekend. It works out anyway because I have a minor plumbing issue to work out under the house. Anywho - this was by far the coolest video so far - I sat there playing with it for 20 minutes after i stopped the video :p

 
And after a bit of delay, I've got the Z axis all buttoned up ... it's about ready for steppers now! :D

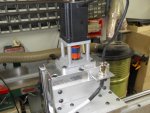
Here's the assembly of all those little parts crammed into such a tiny space:


And a close-up of the anti backlash nut for the Z axis:


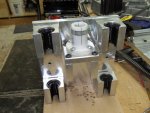
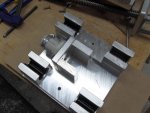
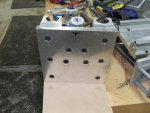
Also some pictures before I put it on the machine ... just to give an idea of how tight that space really is ... there's a lead screw and flange bearing assembly that also snugs up down in between those things, too! Crazy tight!

SDC12003.jpgSDC12004.jpgSDC12005.jpg

About all that's left to fabricate is a mounting system for the router assembly and the spoil board with T tracks for work holding. I'll work on those things while I wait for the stepper kit to get here ... soon as I figure out which one to get! :p

This has been the best part of the build so far - making the axes move under power - it's quite fun to watch 'em zip around. I can only imagine it being even more fun to watch 'em move with G-code :D
 
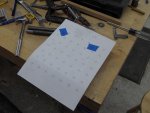
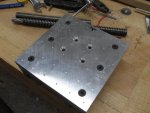
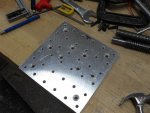
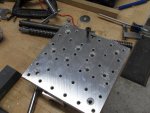
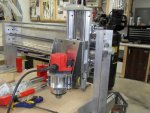
Latest update - the Z axis stage has been drilled and tapped for a standard hole pattern (1-1/8" grid) and the router mount has been mounted!

About all I can do now is build the spoil board until the steppers get here ... Man this is almost gettin' close!!! I'm psyched! :D

SDC12006.jpgSDC12008.jpgSDC12010.jpgSDC12012.jpgSDC12013.jpg
 
In case anyone's still watchin this build ... My electronics came in last week while I was out of town. I have a nice long weekend to play with them though and today the first breaths of life have started to emerge ...

Check it out!!


SO jazzed right now - it's so neat to see this thing moving... All temporary wiring at the moment, just to get my head around how it's gotta be connected.

But it moves! IT MOVES!!! HAHA HA!! It's alive!!! Alive!! :D
 
Very Cool! It's always exciting to see something like this come to life. I sat and played with my motors for an entire night before ever mounting them on the machine.
 
Oh good - i'm not the only one, then!!!

I'm goofing around in mach3 tweaking the acceleration settings and finding my top speed. So far I can get over 400ipm (800rpm) without resonance. EMC has a handier testing app that lets you set it running back and forth and tweak the speed settings in .1ips increments - I think I like that. Haven't found a similar thing in mach3 yet - but the standard motor tuning section isn't too bad, anyway.
 
Well if the last video was cool, this next one has me quite excited ... I got 'er running programs!!!

Check out the roadrunner program that comes with mach3 at two different speeds:


I guess it's time I finally decided on an enclosure of some kind and got ready to hook the steppers up to the machine itself! This is gettin' exciting!! :D
 
Well I'm at the boring stage of wiring now ... Though, after this weekend, I'm feeling very close to getting this thing moving under its own power soon.

Here's where I finished up LAST weekend:

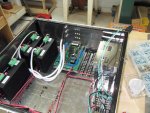
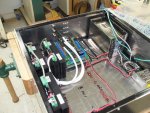
SDC12027.jpgSDC12028.jpg

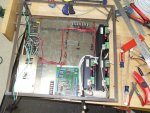
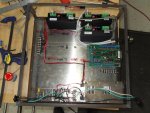
Work on the enclosure progressed very slowly the last few weekends - it's a lot of bolting stuff on, measuring, deciding on a layout, unbolting, drilling mounting holes, tapping, reassembly and rinse repeat...

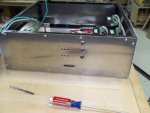
This weekend, I got the steppers actually mounted to the machine - and I've run the wires for them as well - with pretty plugs on each end so i can replace the cable easily. I also got a fair bit of progress on the enclosure as well - Painted the frame, got all the panels cut and most of the main holes are drilled. I still need to make fan port holes, 120v outlet, and power/switches, yet.

SDC12029.jpgSDC12030.jpgSDC12032.jpgSDC12035.jpgSDC12036.jpgSDC12037.jpgSDC12038.jpg

With luck, I may have this thing moving next weekend! :D
 
Jason great progress. Just a little note back in the day when we used to retro fit milling machines for CNC we would use a pen for a tool and then draw 2 draw pictures before we subjected any sharp expensive tooling to the test. Just a suggestion.

Don that's a great suggestion. I plan to do a LOT LOT LOT of testing on this thing before I try to cut anything out for sure. I also plan to "cut air" a lot when testing a new program. The pen idea is great - I'm thinking about a mechanism that would let me not worry about the Z axis - a pen on a spring, so to speak - which would allow the Z to move up and down as needed but not affect the pen's ability to write. I figure that'd give me sort of a 2D version of even the most elaborate 3D programs (which would likely just draw a big mess, now that I really think about it).

Thanks for the encouragement, guys - I'm gettin' real close now! :D
 
Alright so this morning I thought I'd take a new video of the status as things were left last night. Consider this Day #37.

I've pretty much got the enclosure wiring buttoned up and it's just a small matter of finishing touches there. I'm now getting the limit switch wiring worked out on the machine as well...

Check out the latest video:


Ignore the day I said - I always have to look it up - it's not Day 36, it's actually Day 37. Also, I didn't mention the intake filter I'm planning to put on the 120mm fan as well.

I've hit a small snag as the micro switches I got have VERY tiny holes in them for mounting. The biggest screw I can get through them is #2 - super teeny. I was able to find the screws at the local Mom & Pop hardware store, but nobody has taps in town from what I could find today so I had to order some taps from Enco.

At this point I'm almost ready to hook it to the machine but I want to get all the limit switches in place before I do that ... it's just easier that way since all the estop/limits are hooked up in series.

Today I'll get through some of that process, hopefully. Next weekend is probably going to be very busy so I won't get much time to work on it, probably.

Thanks for looking!
 
Top