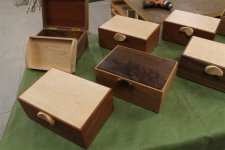
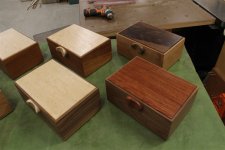
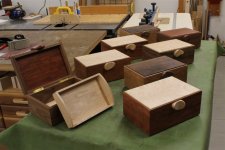
glenn bradley
Member
- Messages
- 11,640
- Location
- SoCal
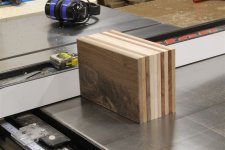
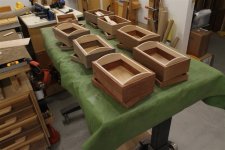
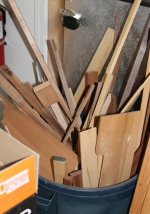
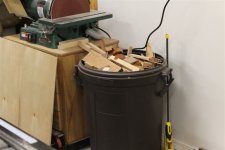
After the buffet, the blanket chest, and the jewelry cabinet I have a swell of scrap.
 .
. 
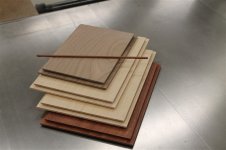
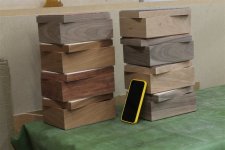
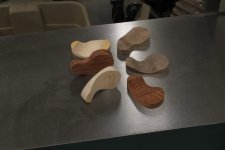
I dig through and find enough pieces that will yield a given size of parts.
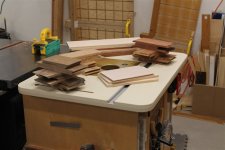
I even lucked out on some birdseye for some of the tops.
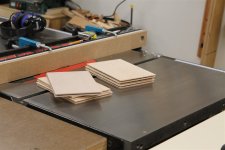
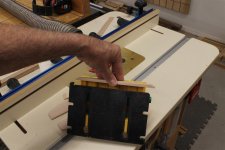
I find taking a pass or two with a hand plane saves me from any peek-a-boo saw marks showing up after assembly.
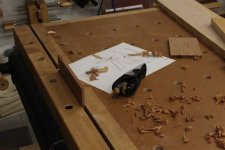
I have 3 of one thickness and three or four of another. I try for repeated parts but sometimes the scraps drive the design. Therefor I do a dry fit on each variation.
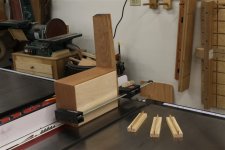
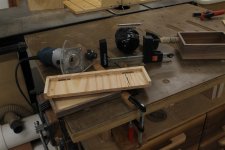
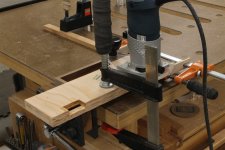
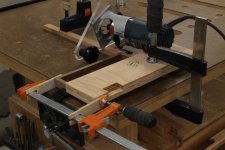
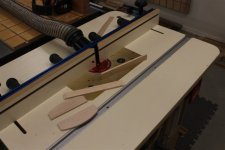
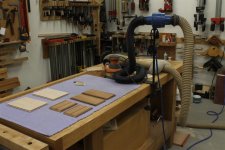
Side note -- If you don't want to go the whole hose-boom route this little clamp on hose/cable manager from Rockler has served me pretty well over the years.
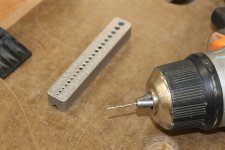
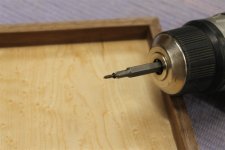
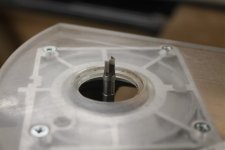
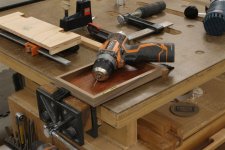
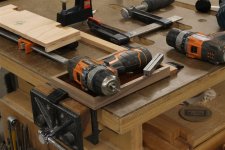
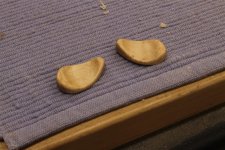
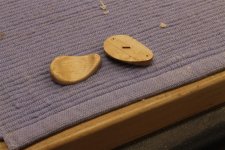
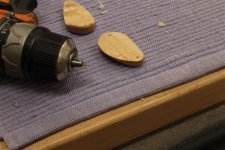
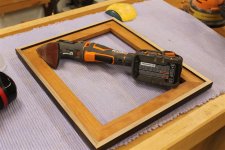
Another side note -- I had a senior moment. After working my fingers to the bone I suddenly realized that I had a variable speed detail sander available . . . Doh!
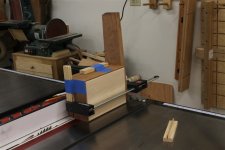
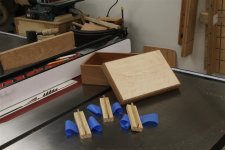
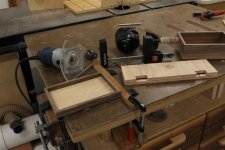
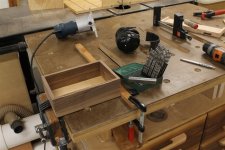
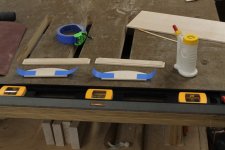
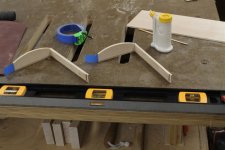
I clamp a straight thing to an assembly surface for reference. I put tape at each joint and line up the parts. I add a dab of silicone rubber to each piece in the top and bottom groove for the floating . . . er . . . top and bottom.
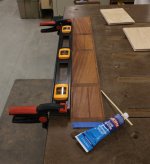
I add the top and bottom (in the right locations . . . don't ask) and add the glue to the miters.
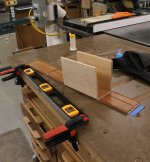
Roll the case parts up.
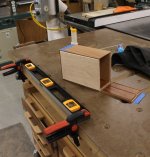
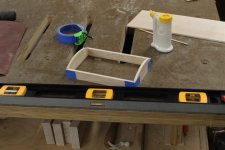
And tape off the last joint.
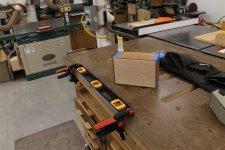
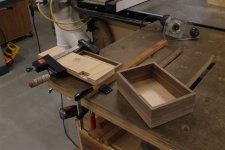
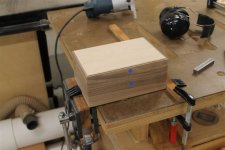
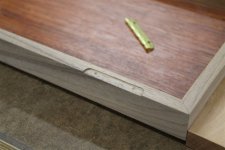
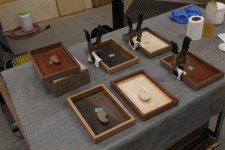
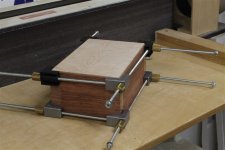
I don't trust tape alone at a certain size. These are borderline. I add some clamps. After an hour I glue up another box and move the clamps as I only have two sets right now. An hour after that I pull the tape on the first box and continue that sequence. I can adjust the tops and bottoms a bit to assure they are centered. Once the silicone cures they will stay centered over he seasons.
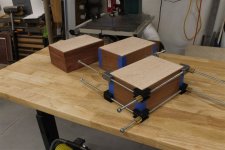
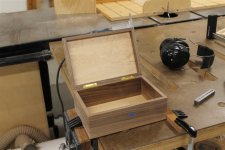
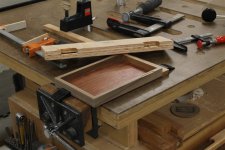
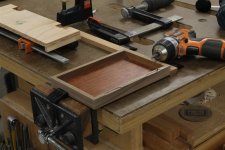
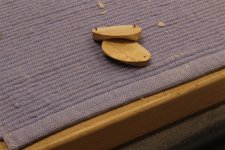
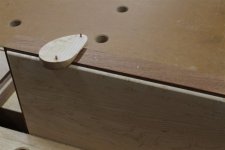
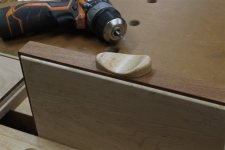
I don't feel like sanding anymore right now so I may cut a top off and add the hinges on one. I will have to make trays and pulls for all of them as I go along. Plenty to do so I don't get bored and don't burn out on repetitious tasks.
 .
. 
I dig through and find enough pieces that will yield a given size of parts.

I even lucked out on some birdseye for some of the tops.

I find taking a pass or two with a hand plane saves me from any peek-a-boo saw marks showing up after assembly.

I have 3 of one thickness and three or four of another. I try for repeated parts but sometimes the scraps drive the design. Therefor I do a dry fit on each variation.

Side note -- If you don't want to go the whole hose-boom route this little clamp on hose/cable manager from Rockler has served me pretty well over the years.

Another side note -- I had a senior moment. After working my fingers to the bone I suddenly realized that I had a variable speed detail sander available . . . Doh!

I clamp a straight thing to an assembly surface for reference. I put tape at each joint and line up the parts. I add a dab of silicone rubber to each piece in the top and bottom groove for the floating . . . er . . . top and bottom.

I add the top and bottom (in the right locations . . . don't ask) and add the glue to the miters.

Roll the case parts up.

And tape off the last joint.

I don't trust tape alone at a certain size. These are borderline. I add some clamps. After an hour I glue up another box and move the clamps as I only have two sets right now. An hour after that I pull the tape on the first box and continue that sequence. I can adjust the tops and bottoms a bit to assure they are centered. Once the silicone cures they will stay centered over he seasons.

I don't feel like sanding anymore right now so I may cut a top off and add the hinges on one. I will have to make trays and pulls for all of them as I go along. Plenty to do so I don't get bored and don't burn out on repetitious tasks.
Last edited:

