Chris Mire
Member
- Messages
- 945
- Location
- Southern Louisiana
it's been awhile since i have posted, been kinda busy. i guess that's a blessing in this economy. here is a personal project and a work project.
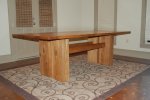
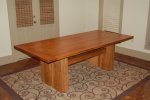
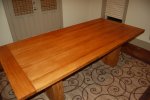
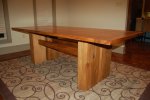
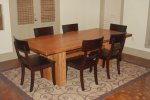
the first is the dining room table i built for us. it's based on one my wife found on line. it actually had one larger pedestal on each side. i had these 8x12 offcuts from beams on the house so i resawed them down to 6x12 and used them for this. the top is some cypress from the sills of a house that was 100 years old, some of you will remember me doing a set of cabinets out of this wood years ago. i still have some left. most of the boards came from one 6x6 resawed to 6/4. this was my first attempt at breadboard ends. they came out ok. learned a few things though. we bought the chairs, maybe one day i'll have the skill to build those too.
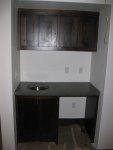
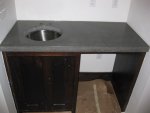
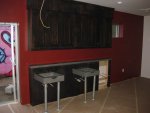
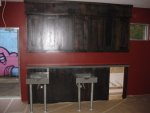
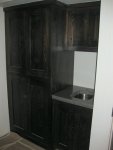
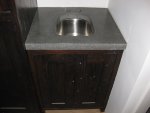
the next is a small cabinet job i did for a friends salon he is opening soon. they are made of reclaimed heart pine, some pretty hard stuff for pine with a serious aroma when it was cut. i smelled like one of those green tree car fresheners for a week. doors are shaker style and inset. i also made the countertops which are concrete. this is the first time i do this with the exception of a small trial piece i made. it kinda nice to work in a different "medium" than wood. different challenges for sure. i really wanted to do this in my home but just didn't have the energy back then. i am hoping this can fill the void when woodworking slows down. the sinks on the pipe legs are the shampoo bowls, they wanted something no one else would have. i think we accomplished that.
enjoy
chris
the first is the dining room table i built for us. it's based on one my wife found on line. it actually had one larger pedestal on each side. i had these 8x12 offcuts from beams on the house so i resawed them down to 6x12 and used them for this. the top is some cypress from the sills of a house that was 100 years old, some of you will remember me doing a set of cabinets out of this wood years ago. i still have some left. most of the boards came from one 6x6 resawed to 6/4. this was my first attempt at breadboard ends. they came out ok. learned a few things though. we bought the chairs, maybe one day i'll have the skill to build those too.


the next is a small cabinet job i did for a friends salon he is opening soon. they are made of reclaimed heart pine, some pretty hard stuff for pine with a serious aroma when it was cut. i smelled like one of those green tree car fresheners for a week. doors are shaker style and inset. i also made the countertops which are concrete. this is the first time i do this with the exception of a small trial piece i made. it kinda nice to work in a different "medium" than wood. different challenges for sure. i really wanted to do this in my home but just didn't have the energy back then. i am hoping this can fill the void when woodworking slows down. the sinks on the pipe legs are the shampoo bowls, they wanted something no one else would have. i think we accomplished that.
enjoy


chris

 Man, that table's not gonna blow away in a windstorm, huh?
