Brett Luna
Member
- Messages
- 230
- Location
- Peters Creek, Alaska
Maybe I can blame it on the COVID blues and getting used to teleworking full time, because something seemed to have really sapped my motivation to spend time in the shop. However, The Wife asked for another pet urn box, this time for her half sister's pup. She only just connected with her last year along with her birth father. It's been a heckuva thing.
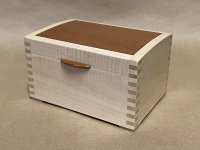
Anyway, I wanted to do something a little different than the last batch of boxes, so I thought I'd soften things up a bit with a gently curved lid. This one will also include a keepsake tray, under which the ashes are to be interred. Wood choices are curly maple (on hand) and lacewood. Here's the initial glue-up of the over-height sides and the top and bottom panels:
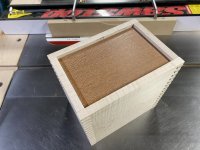
Lid profile cut at the band saw. Everything sanded to 150, lid cut away on the table saw:
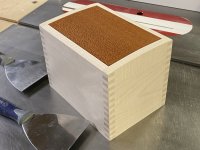
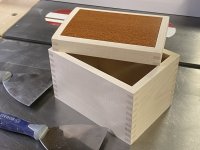
Box cut to final height. The tray will sit on a partial liner held in place with interlocking rabbets and a friction fit:
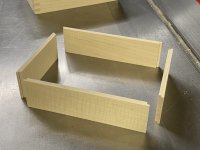
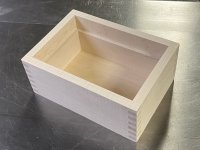
Glue-up of the tray. Sides were cut the with extra height for better stability/handling on the box joint jig:
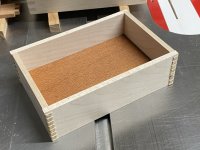
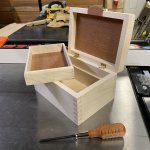
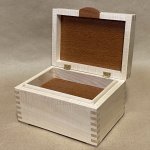
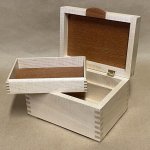
Tray cut to final height, top edges profiled, and fitted to the box:
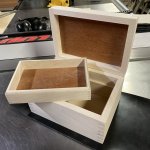
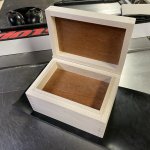
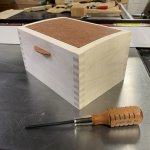
Next up: hinge mortising and a finger lift.
Anyway, I wanted to do something a little different than the last batch of boxes, so I thought I'd soften things up a bit with a gently curved lid. This one will also include a keepsake tray, under which the ashes are to be interred. Wood choices are curly maple (on hand) and lacewood. Here's the initial glue-up of the over-height sides and the top and bottom panels:

Lid profile cut at the band saw. Everything sanded to 150, lid cut away on the table saw:


Box cut to final height. The tray will sit on a partial liner held in place with interlocking rabbets and a friction fit:


Glue-up of the tray. Sides were cut the with extra height for better stability/handling on the box joint jig:

Tray cut to final height, top edges profiled, and fitted to the box:


Next up: hinge mortising and a finger lift.


