Pedestal Table - TDW-2010 Fallout

Since then I put a 45 degree bit in the router and use the router, it's much easier to control.

Amen. Its cool to watch Sam do that but, I did it a bit on the mock-up and didn't feel very cool at all :rolleyes:. I'm going with a more sculpted look. Kinda trying to make this a "Maloof-like" table, not a Maloof table (as if I really could ;)). During my visit, Larry White mentioned that it takes him about 3 weeks to sand a lowback chair. I don't know that I have 3 weeks of sanding on the same project in me :D.
 
Amen. Its cool to watch Sam do that but, I did it a bit on the mock-up and didn't feel very cool at all :rolleyes:. I'm going with a more sculpted look. Kinda trying to make this a "Maloof-like" table, not a Maloof table (as if I really could ;)). During my visit, Larry White mentioned that it takes him about 3 weeks to sand a lowback chair. I don't know that I have 3 weeks of sanding on the same project in me :D.
Sam said he could rough out a table in a half a day but it would take "the boy 2 weeks to finish it"..:D
 
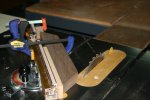
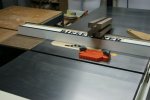
Where are my boys??? Oh well, boys or not I generally use a sled for angles but there weren't that many so I used the miter gauge.

u-Ped-Table-45.jpg

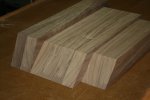
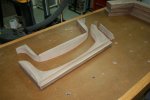
The 24t Lietz rip blade did pretty well in this semi-crosscut operation.

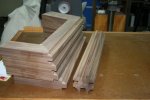
v-Ped-Table-leg-parts.jpg

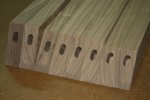
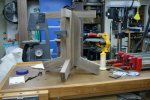
The Mortise Pal makes quick work of the mortising.

w-Ped-Table-morts.jpg

Now I'm on the fence as to whether to power through and start some glue-ups or to just call it quits for tonight . . . Yeah, I'm done for today.
 
A Little More Progress

I haven't had a lot of shop time the past couple days but I cleaned out a whole section of the side yard where a new shed is going in :thumb:.

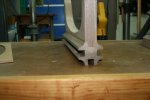
Here's the legs all glued up, cleaned up and ready for the rabbets that make the long tongue down the back.

x-Ped-Tbl-Legs-assembled.jpg

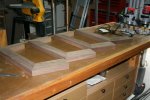
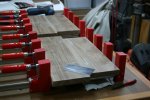
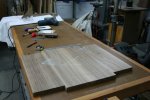
Here's two sections of the top in glue up and a shot of the blank that I will cut the circle from.

y-ped-tbl-top-glueup-1.jpgz-ped-tbl-top-glueup-2.jpg

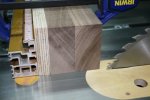
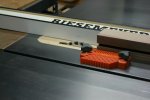
I love the way that Lietz 40T crosscuts 3" of walnut glass smooth.

1-Ped-Tbl-Post 001.jpg

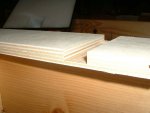
As is my habit I use a narrower than called for dado stack and expand to the final dimension.

2-Ped-Tbl-Post-002.jpg

This gives me four 3/4" x 3/4" slots perfectly centered on each face of the post.

3-Ped-Tbl-Post -003.jpg

That's all so far and I am off to bed early as I have an earlier than normal start time tomorrow.
 
Hi Glenn,

I'm new here but I wanted say how much I'm enjoying your progress on the table. I'm keen to attempt a Maloof style pedestal table myself and your posts (plus Don's posts) have given me a great head start.

Please keep them coming :thumb:

Cheers,
Geoff
 
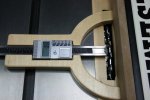
This shop made depth gauge makes setup for these types of cuts nice and quick.

4-Ped-Tbl-Post-tenons-gauge.jpg

Got the coves done on the post and the rabbets on the legs.

5-Ped-Tbl-Post-tenons 013.jpg

Sure looks bulky before all the spoil gets removed :).

6-Ped-Tbl-Post-tenons-dry-ped.jpg

I think I am on the hook for a dinner get together tomorrow night so I may not get back to this for a day or two. Next step is to rough cut the legs to shape and then template route them.
 
Hi Glenn,

I'm new here but I wanted say how much I'm enjoying your progress on the table. I'm keen to attempt a Maloof style pedestal table myself and your posts (plus Don's posts) have given me a great head start.

Please keep them coming :thumb:

Cheers,
Geoff

Hi Geoff

Welcome to the Family! :wave:

It is a great thread, I'm following along too, thanks Glenn! :thumb:
 
Glenn, which dado set do you use ?. your cuts look almost perfect. Every set i've used leaves those little "bat ears" on the bottom of the cut.

Dado sets get discussed to death and with good reason. The darn things are costly. I picked up the Freud SD508 based on many reviews and recommendations and it does leave a real nice cut. I would recommend it. I would also recommend getting it for $150 with the Rockler 25% off coupon I used a few years back :thumb:.

BB-ply-dado-test-1.jpg

I was after the SD608 but my arbor would not support it for very wide cuts. As it turns out I have followed the two (or more) pass method so this would not have been a problem nor would it have been a benefit. I love the SD508 but there are other top quality sets out there that will also cut clean the 1st time and cut clean the 201st time.
 
Moving Right Along

One last burst of effort before intermission. . . .I rough out the leg shapes on the bandsaw.

7-Ped-Tbl-Leg-roughed.jpg

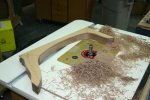
Template route them to give me reliable reference points for the hand shaping.

8-Ped-Tbl-Leg-Template.jpg

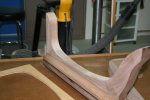
Here's a preview of the leg to post fit prior to shaping and smoothing in. You can get a better idea of the leg-to-post profile now with the bulk cut away.

9-Ped-Tbl-Leg-fit-1.jpg10-Ped-Tbl-Leg-fit-2.jpg

I have a feeling I will wish I had picked up a Shinto rasp. It may be time to spring for a Nicholson No. 49 and 50 :huh:.
 
Last edited:
Looks good so far Glenn, are you gonna put the hardline/soft line on the legs like Sam did ?
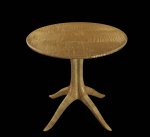
I keep going back and forth. I like his strongly defined break-points like on this table:

Maloof-Pedestal-idea-3.jpg

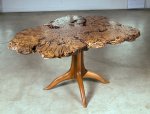
But I am leaning toward a more organic flowing kind of a thing like in the base on this piece:

Maloof Pedestal-idea-NE-table.jpg

I'll have to make my mind up for sure before I start shaping or I'll end up in trouble :D.
 
Top