glenn bradley
Member
- Messages
- 11,684
- Location
- SoCal
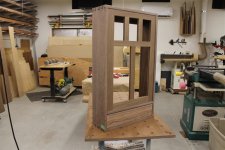
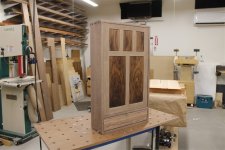
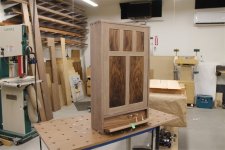
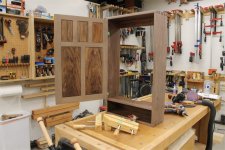
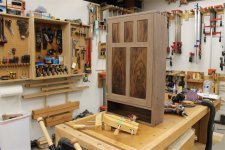
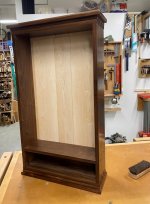
Building this for a family friend. I'll ask later for recommendations on how to get this beast to Texas without breaking the bank  .
.
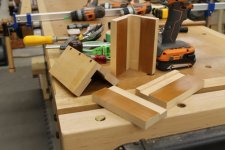
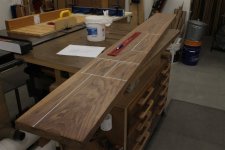
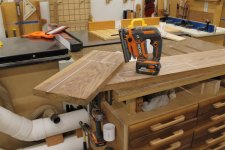
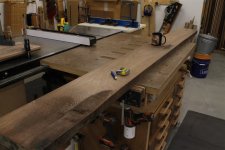
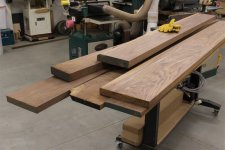
As usual I pull some stock out of the racks and select my boards for the parts.
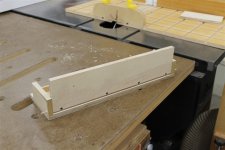
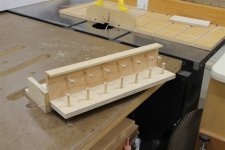
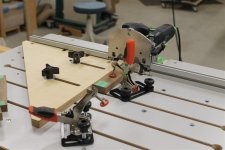
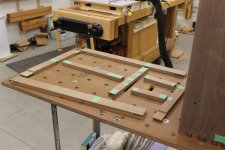
I haven't used this irregular finger joint jig for some time.
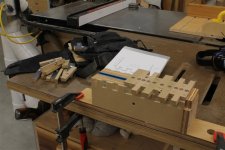
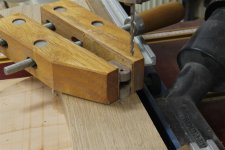
I ran my setup on some scrap to make sure my reference edge and alignment was what I was after.
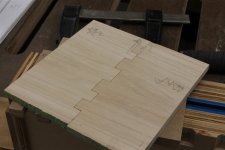
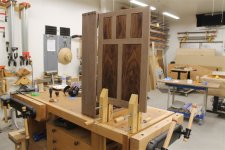
I won't bore you with the breakdown and milling of the blanks. Once the case sides and ends were cut to final size I cut the fingers.
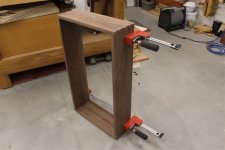
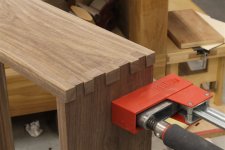
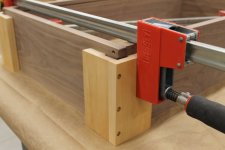
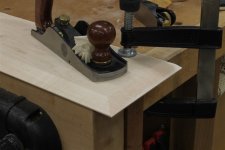
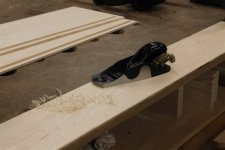
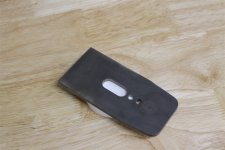
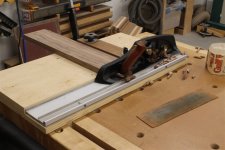
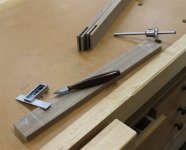
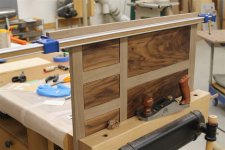
I run a jointer plane around the front and back to even up the edges. No matter how many times I watch Garrett Hack do this to fit an already constructed drawer box into a piston opening I still struggle with this maneuver.
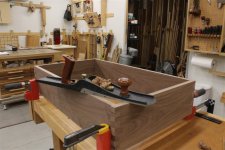
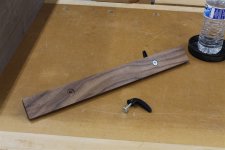
I use a straight edge to make sure I don't wander off
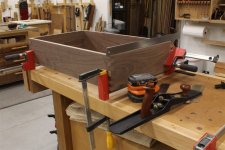
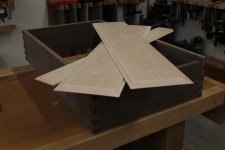
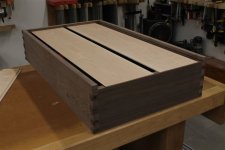
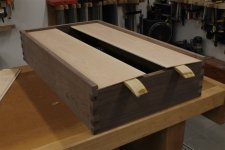
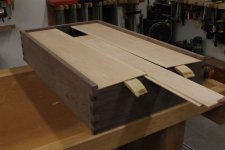
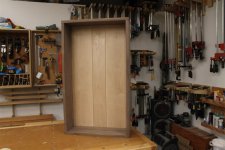
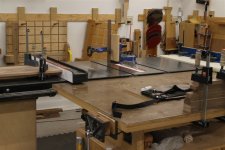
The back will be beaded slats set into a groove top and sides. I can cut the sides at the tablesaw since the cuts can go all the way, end to end (the exit locations will be hidden). The bottom gets cut off since the slats will tack to the part of the casework.
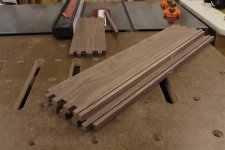
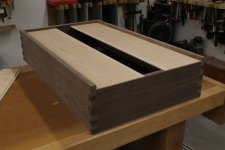
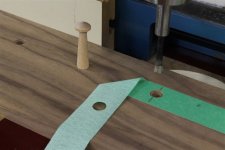
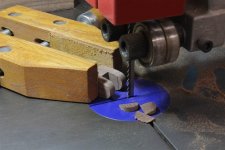
The top will need a stopped groove. I have an 1/8" spiral bit but this purpose specific bit works easily in one pass so I used it.
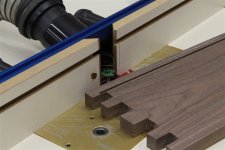
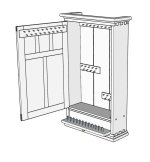
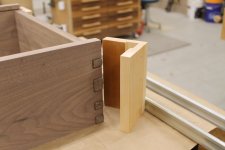
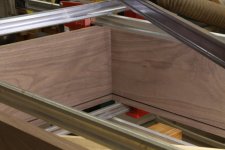
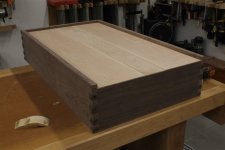
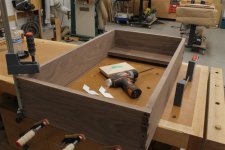
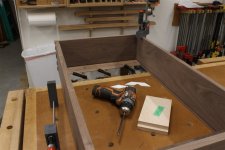
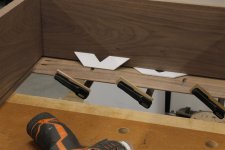
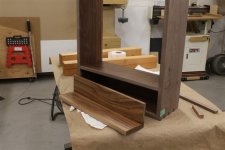
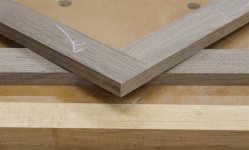
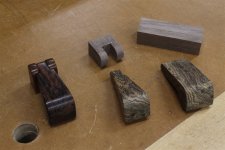
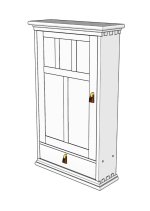
And this is the proud finger look I am after at the top and bottom of the sides (see the SU drawing above).
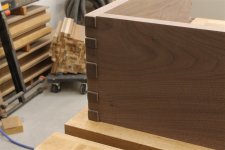
The fingers are proud on the side but flush at the top and bottom as there will be a sort of crown at the top and a light rail at the bottom.

As usual I pull some stock out of the racks and select my boards for the parts.

I haven't used this irregular finger joint jig for some time.

I ran my setup on some scrap to make sure my reference edge and alignment was what I was after.

I won't bore you with the breakdown and milling of the blanks. Once the case sides and ends were cut to final size I cut the fingers.


I run a jointer plane around the front and back to even up the edges. No matter how many times I watch Garrett Hack do this to fit an already constructed drawer box into a piston opening I still struggle with this maneuver.

I use a straight edge to make sure I don't wander off

The back will be beaded slats set into a groove top and sides. I can cut the sides at the tablesaw since the cuts can go all the way, end to end (the exit locations will be hidden). The bottom gets cut off since the slats will tack to the part of the casework.

The top will need a stopped groove. I have an 1/8" spiral bit but this purpose specific bit works easily in one pass so I used it.

And this is the proud finger look I am after at the top and bottom of the sides (see the SU drawing above).

The fingers are proud on the side but flush at the top and bottom as there will be a sort of crown at the top and a light rail at the bottom.
Last edited:

